Have you accidentally lost important data on your iPhone, iPad, or iPod touch? Don’t panic. This guide walks you through how to retrieve deleted or missing files from your iOS device, as well as from iTunes and iCloud backups, using the Mac version of MobiKin Doctor for iOS.
Part 1: Recover Data from iOS Device Directly
Step 1: Connect your iPhone or iPad to the computer
First, download and install the software on your computer. Open the program and you will be greeted by its main interface.
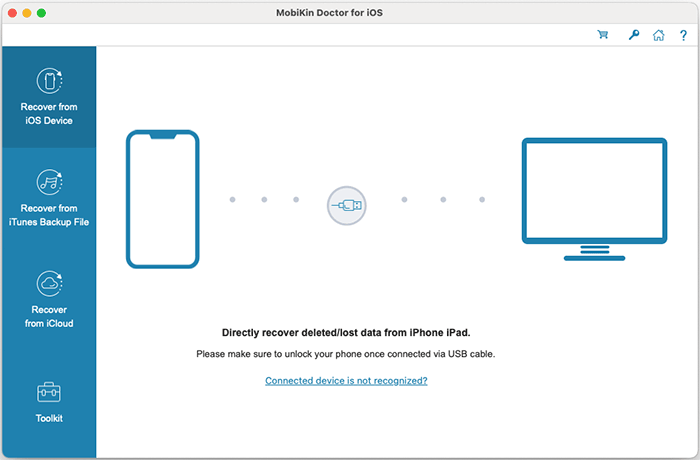
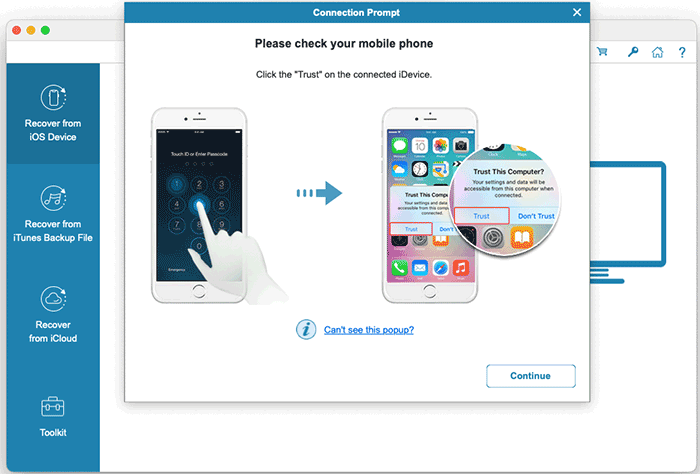
Use a USB cable to connect your iPhone or iPad to the computer. The software will automatically detect your device. When a prompt appears on your device, tap "Trust" to allow the connection.
Notice:
- If the trust prompt does not appear on your device, click the "Can’t see this popup?" option for troubleshooting steps.
- If your device is not recognized, follow the on screen instructions provided by the program. If the issue persists, click "Device still can’t be detected" for further assistance.
You may connect more than one iOS device to the computer at the same time. You can return to the main screen whenever you need to choose a different device for recovery.
Step 2: Select the data types to scan
Once your device is successfully recognized, the next screen will allow you to choose the types of data you want to scan. Select the items you need and click "Start Scan" to proceed. The program will quickly analyze the selected data categories.

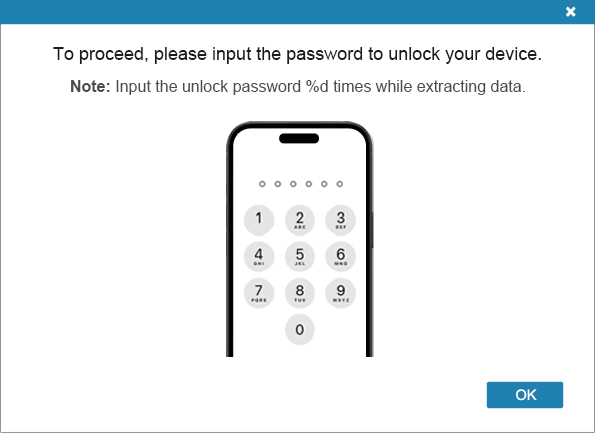
Note: When scanning messages, notes, voice memos, WhatsApp data, deleted contacts, or deleted messages, you may see an unlock request on your device. Please unlock your phone promptly to ensure the scan continues smoothly.
Step 3. Preview and choose the data you want
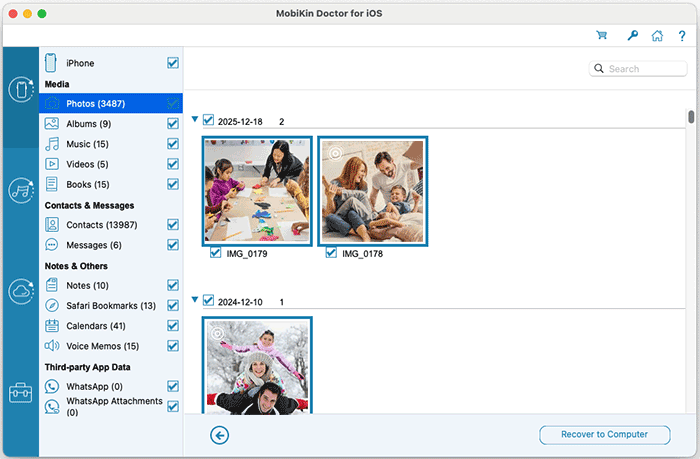
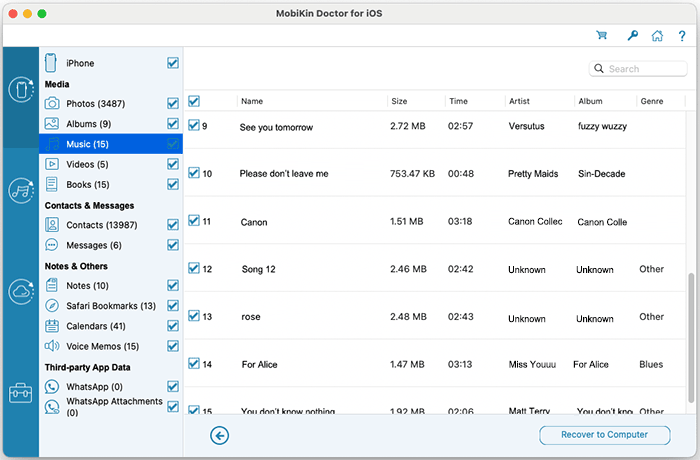
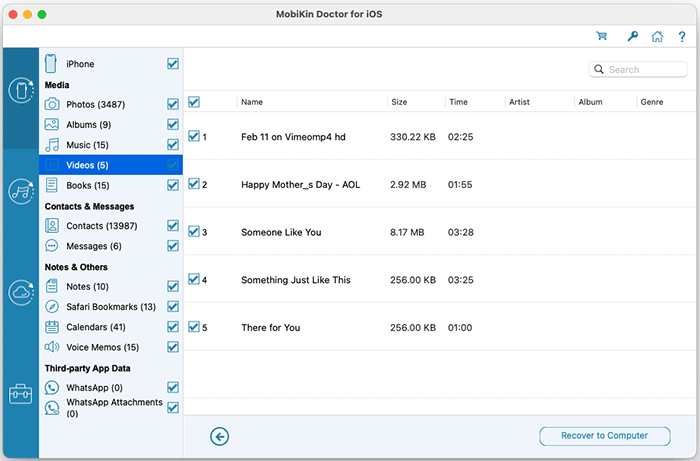
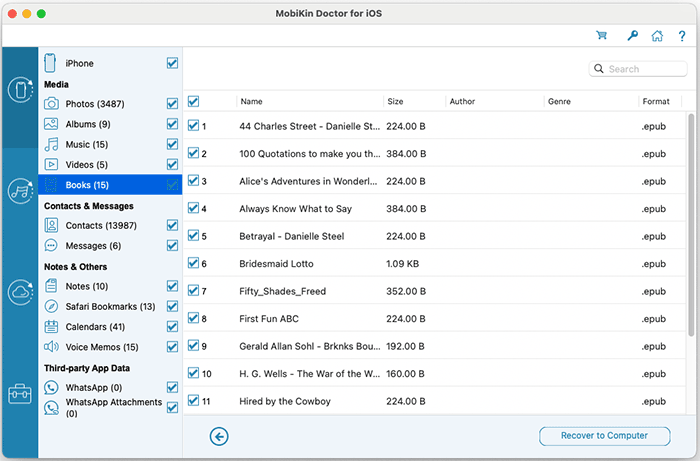
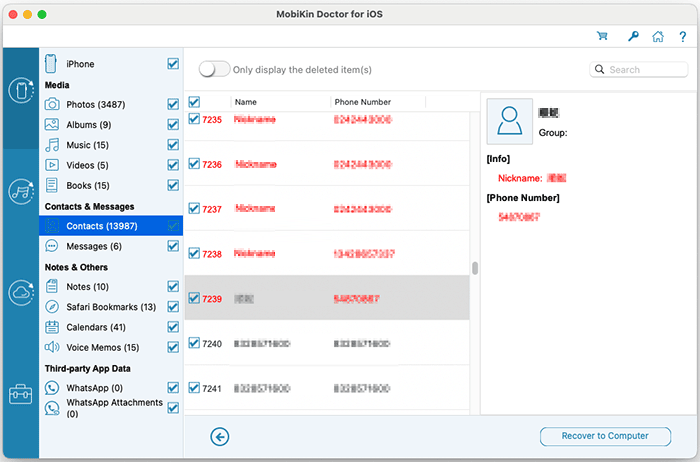
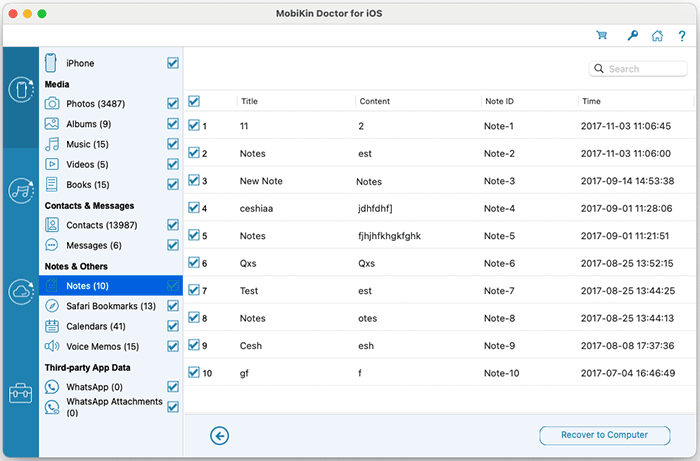
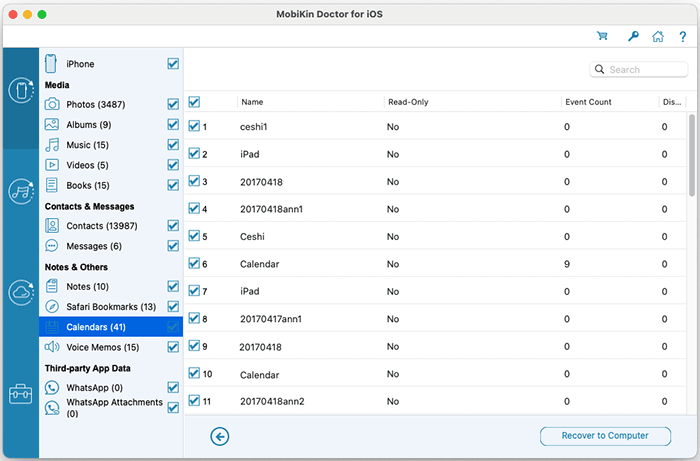
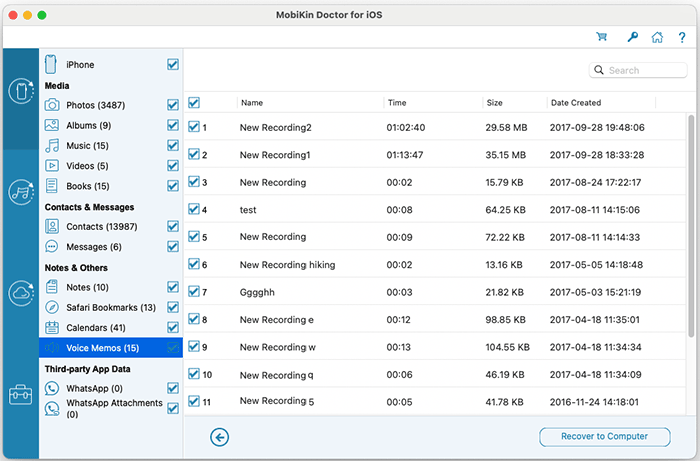
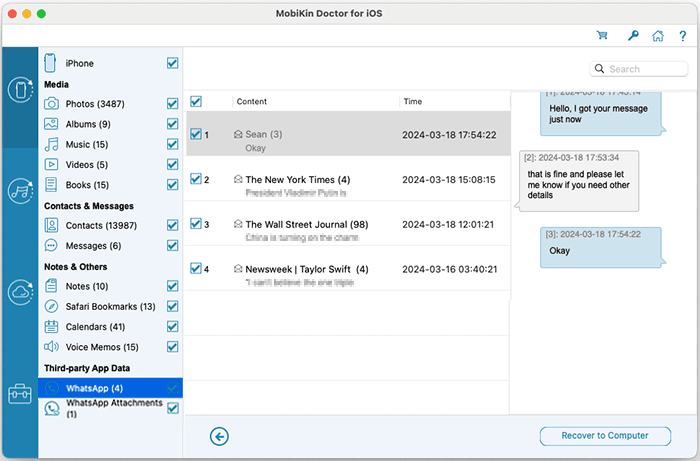
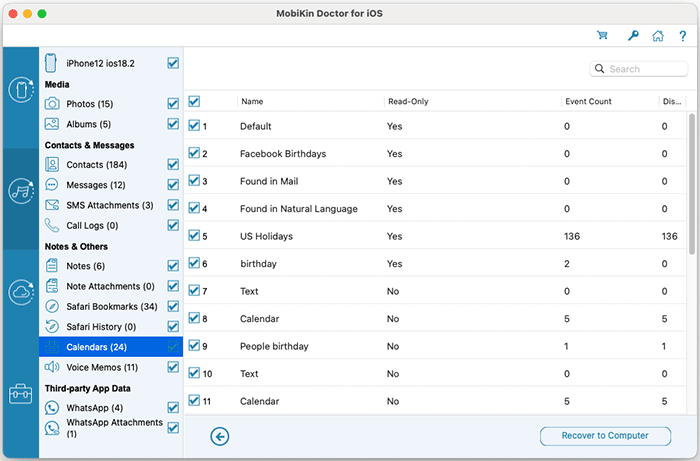
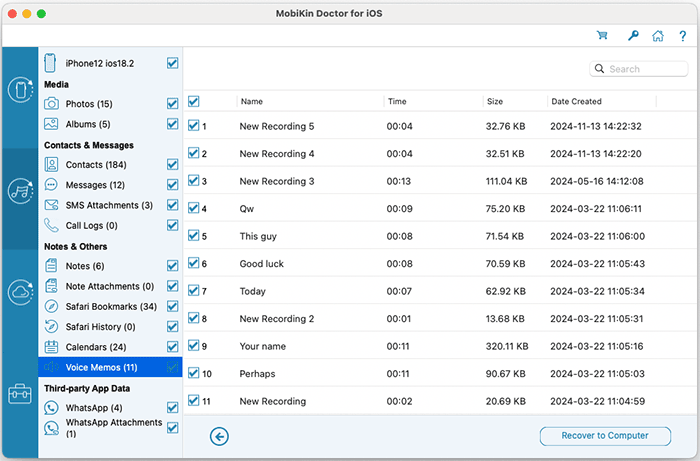
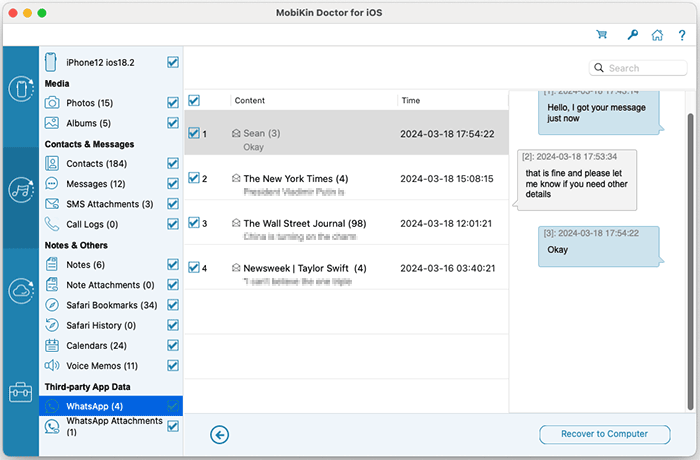
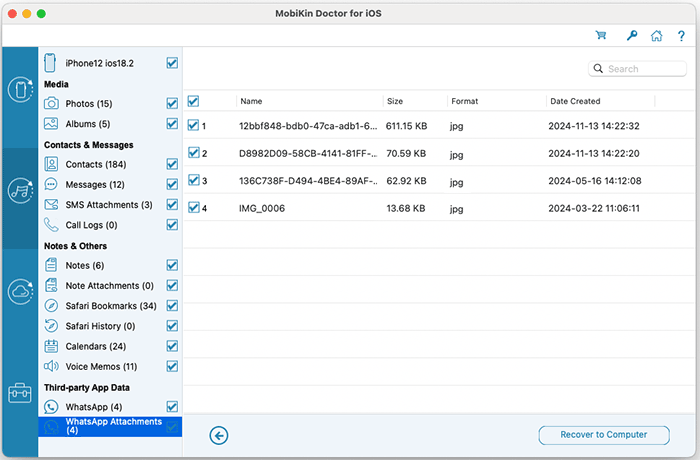
After scanning, you can preview both existing and deleted files directly within the program. Use the menu on the left to switch between data categories, then select the specific items you want from the right panel.
Tips: You can also enable the "Only display the deleted item(s)" option to view only lost or deleted data.
Photos:
Albums:

Music:
Videos:
Books:
Contacts:
Messages:

Notes:
Safari Bookmarks:

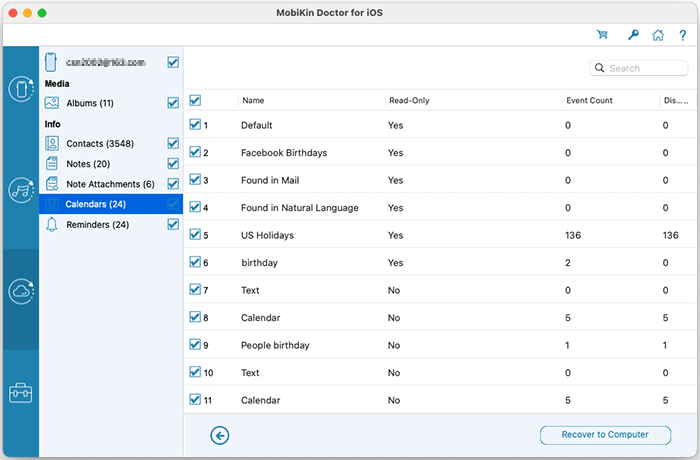
Clendars:
Voice Memos:
WhatsApp:
WhatsApp Attachments:
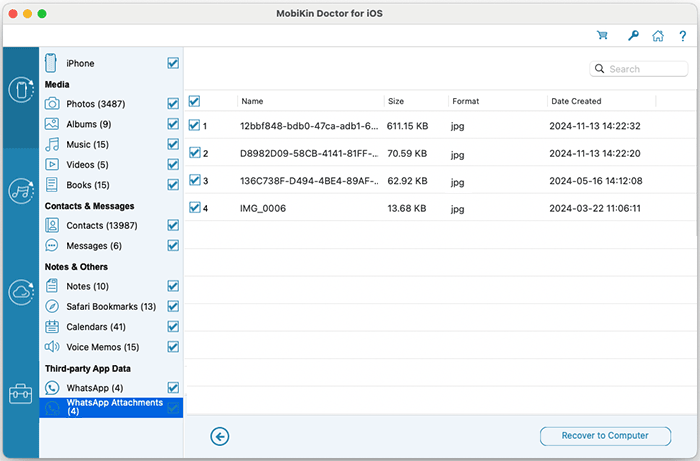
Step 4. Recover data from the iOS device
Once you have made your selections, click "Recover to Computer" to save the recovered data to your computer. Any selected existing files can also be copied at the same time.
Part 2. Recover Data from iTunes Backup File
Choose the "Recover from iTunes Backup File" option from the left panel to restore data from an existing iTunes backup. Please note that call history and Safari history are not supported on iOS 10 and later.
Step 1. Select an iTunes backup
The software will automatically scan the default iTunes backup location on your computer. Select the backup you want from the list and click "Start Scan".
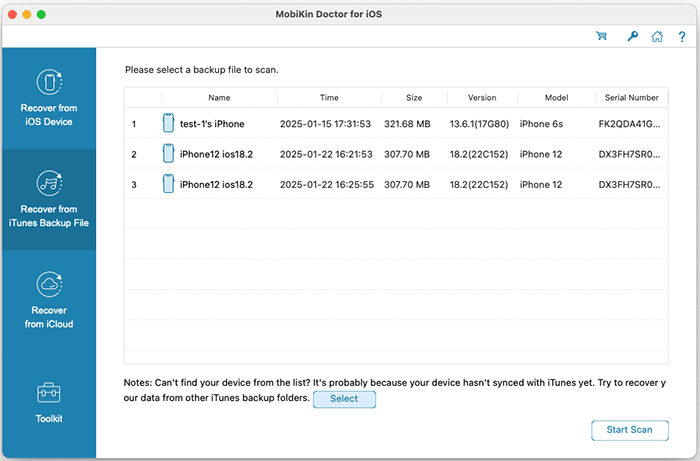
Note: If you cannot find the desired backup, click "Select" to locate an iTunes backup stored in another folder.
Step 2. Choose the data types to restore
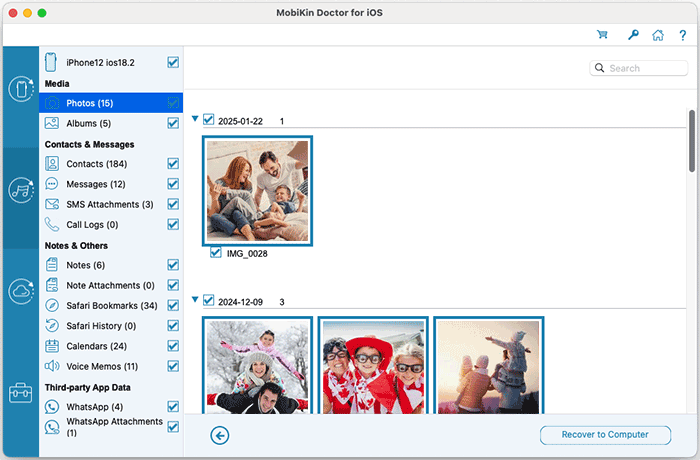
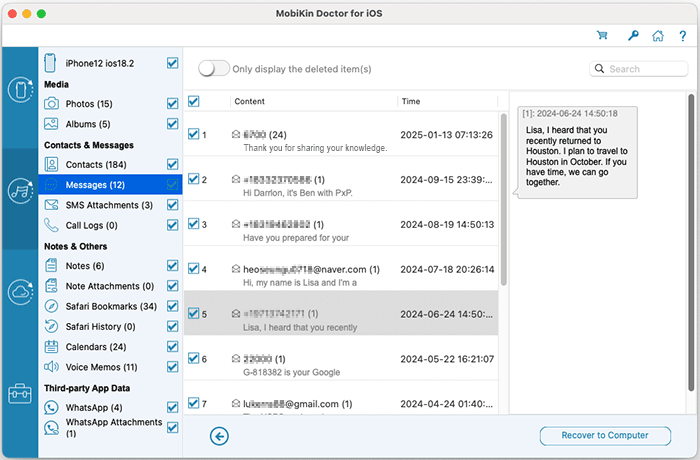
Select the types of files you want to recover and click "Start Scan". Once the scan is complete, all available data from the backup will be displayed for preview.

You can now preview the iTunes backup content on the program interface.
Photos:
Albums:

Contacts:

Messages:
SMS Attachments:

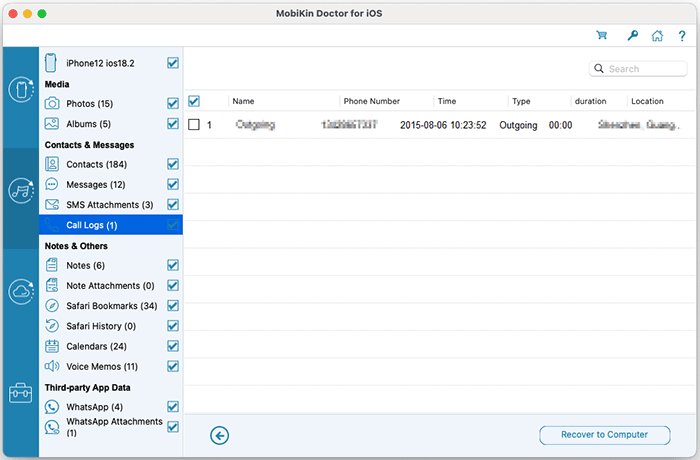
Call Logs:
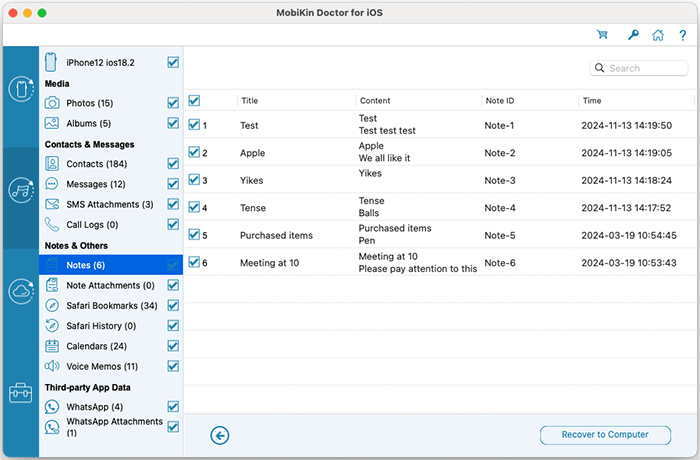
Notes:
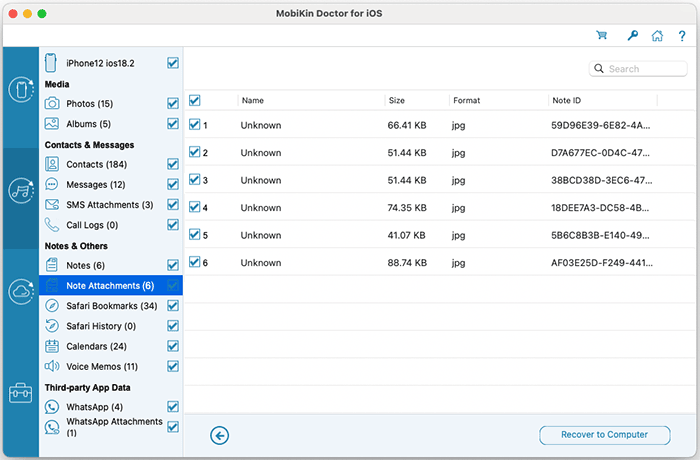
Note Attachments:
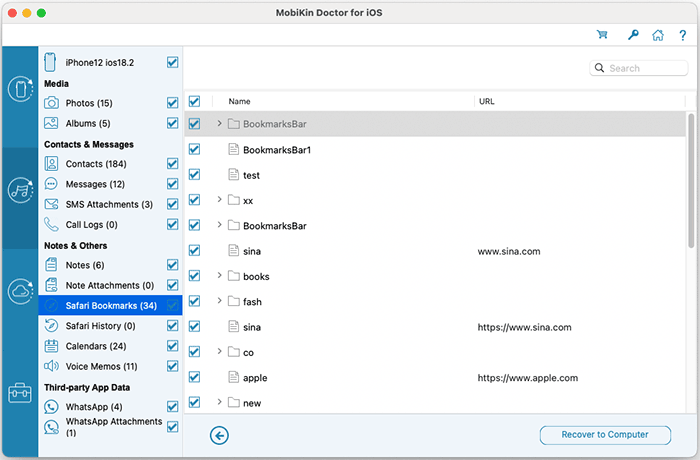
Safari Bookmarks/History:
Calendars:
Voice Memos:
WhatsApp:
WhatsApp Attachments:
Step 3. Restore data from the iTunes backup
Check the categories and files you want, then click "Recover to Computer" to restore them immediately..
Part 3. Recover Data from iCloud Synced File
Step 1: Sign in to iCloud
Select "Recover from iCloud" from the recovery options on the left. Enter your Apple ID and password to sign in.

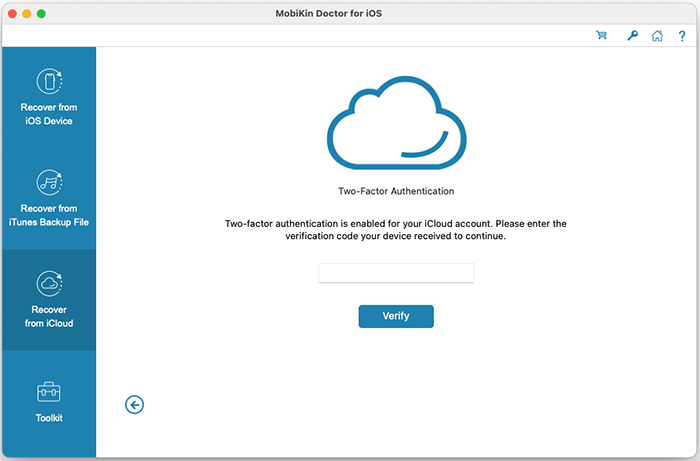
Step 2: Complete two factor authentication
If two factor authentication is enabled, enter the verification code sent to your device and click "Verify" to continue.
Your privacy is fully protected. MobiKin does not store or access your Apple ID credentials or personal data.
Step 3: Download iCloud synced data
After logging in, the program will display all synced data available in your iCloud account. Choose the categories you want to recover and click "Next" to download the files.

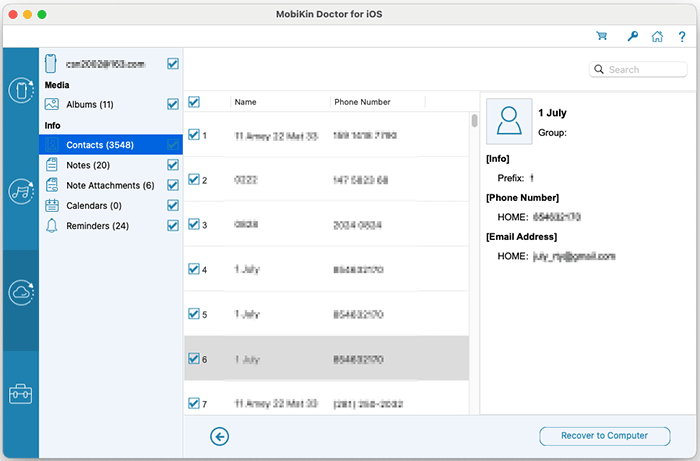
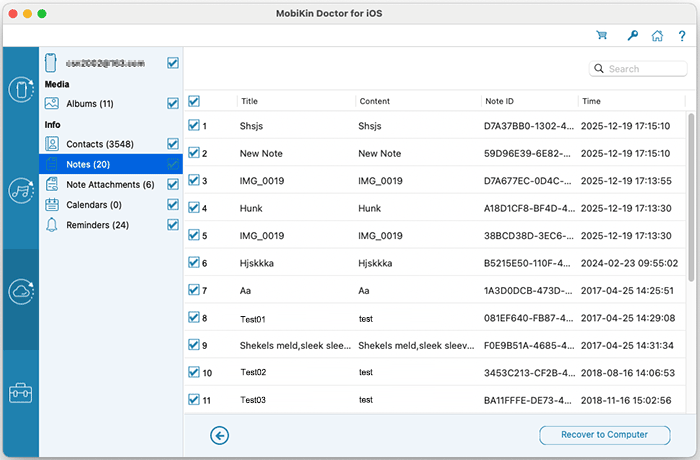
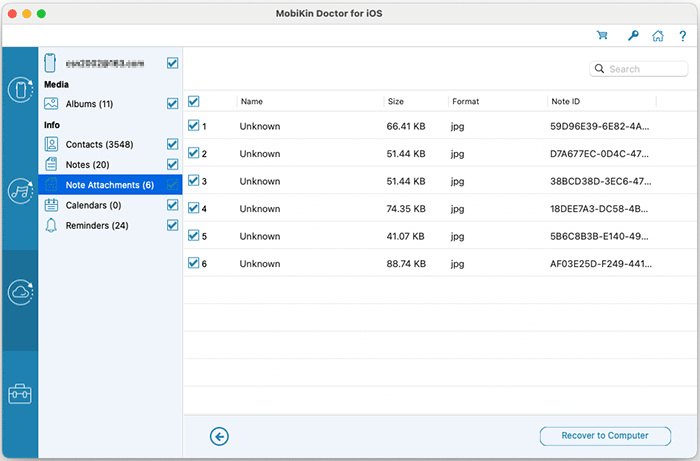
Step 4: Preview and recover data from iCloud
Once the download is complete, you can preview contacts, photos, notes, calendars, reminders, and more. Select the items you need and click "Recover to Computer" to save them to your computer with a single click.
Albums:

Contacts:
Notes:
Note attachments:
Calendars:
Reminders: