A flexible iOS data recovery tool to recover lost data from iPhone, iPad, iPod touch, and iTunes & iCloud backup files, making it the most comprehensive iPhone data recovery solution you may ever find.
Fully compatible with the latest iOS 26 and iPhone 17.
Supported OS: Windows 11/10/8/7
Secure Download30 days Money Back Guarantee
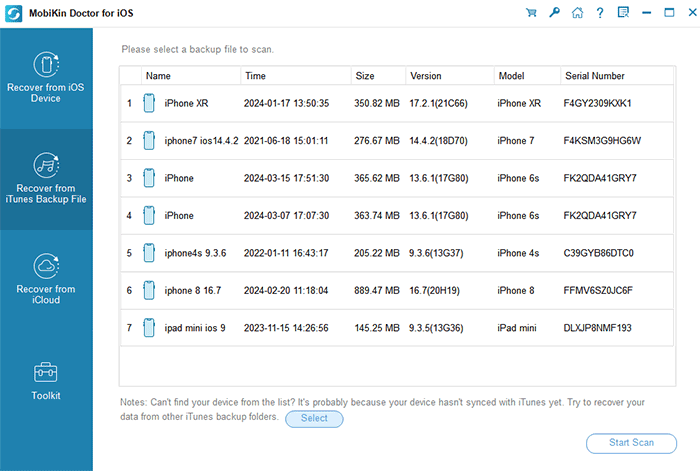
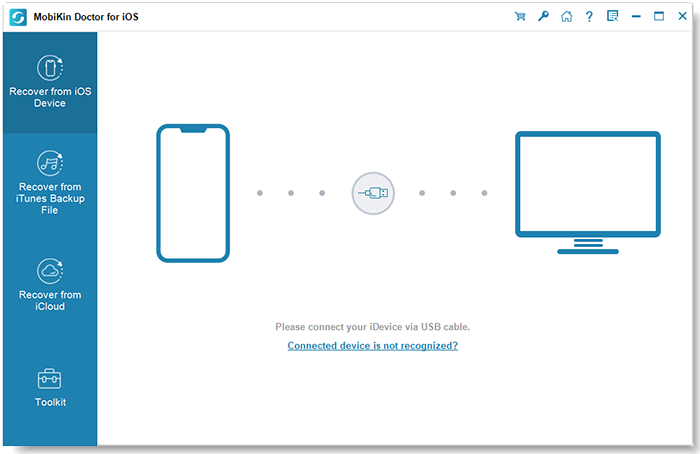
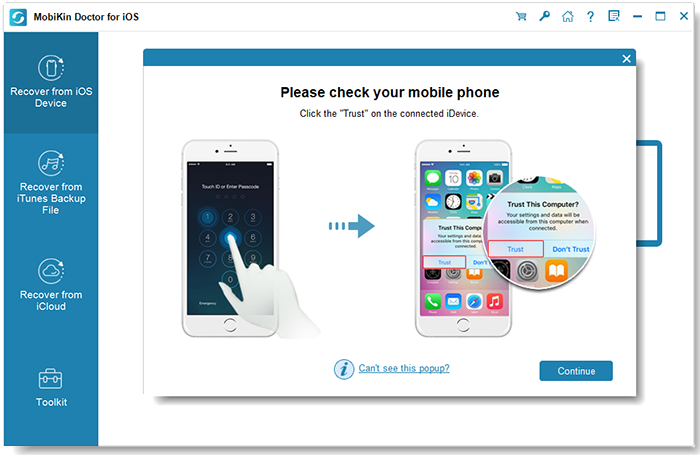
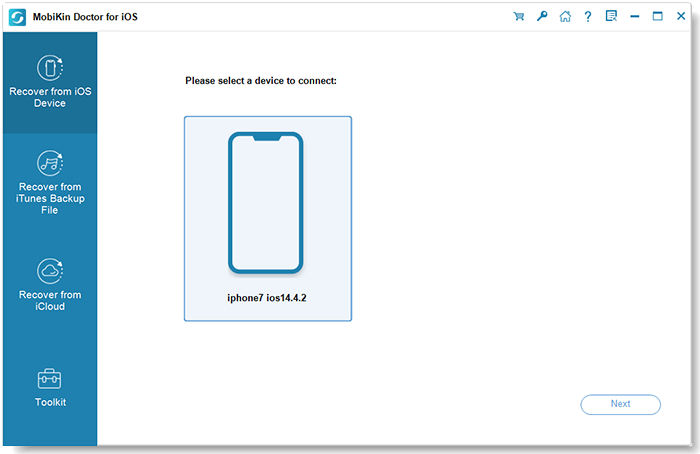
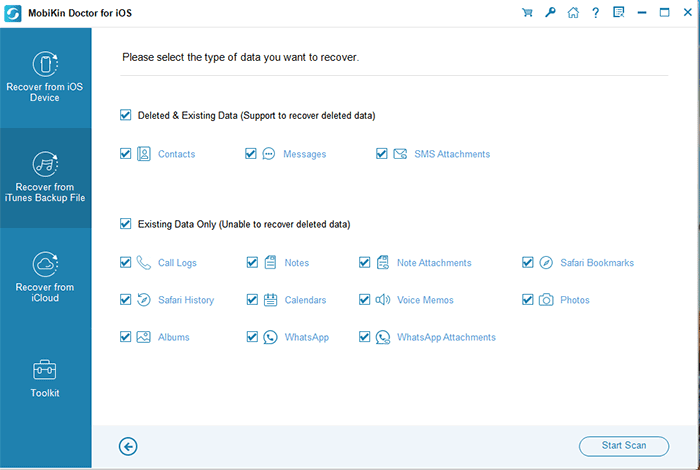
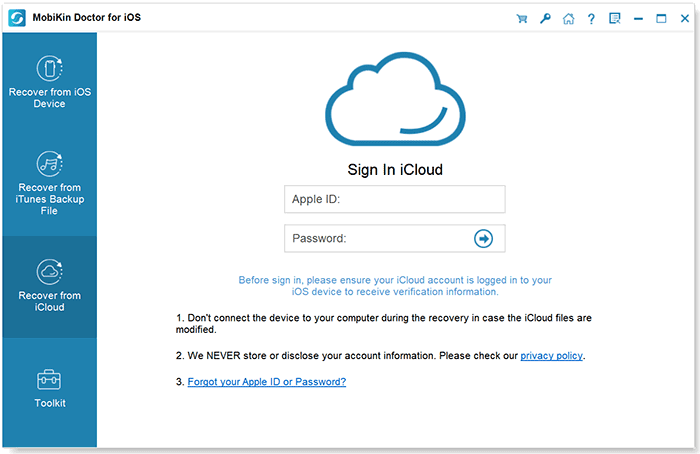
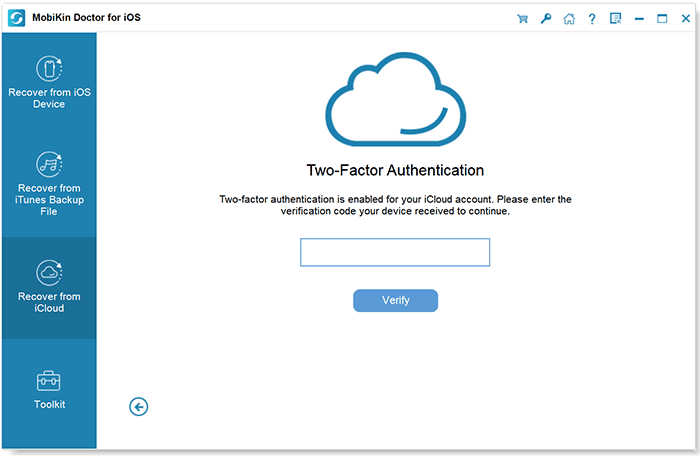
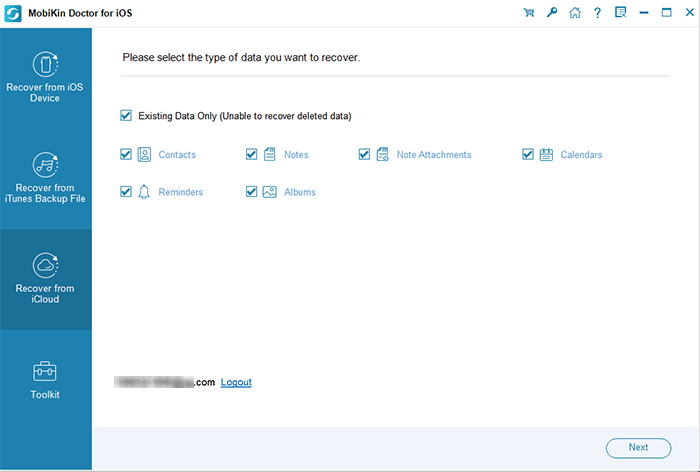
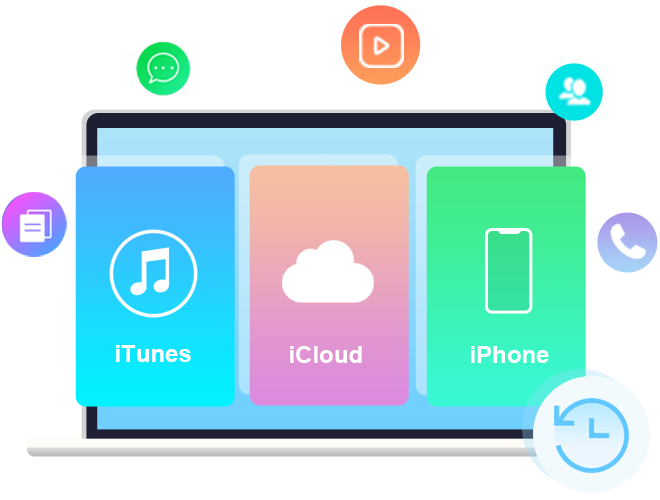
Data loss happens here and there in the portable digital life. Utilizing Doctor for iOS, you can effortlessly recover data directly from your iOS devices. Additionally, it empowers you to extract data from a previous iTunes or iCloud backup.
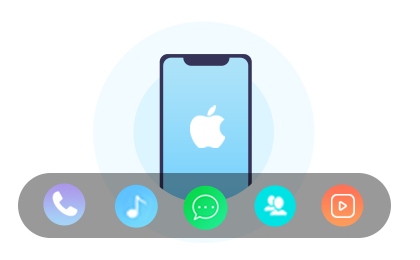
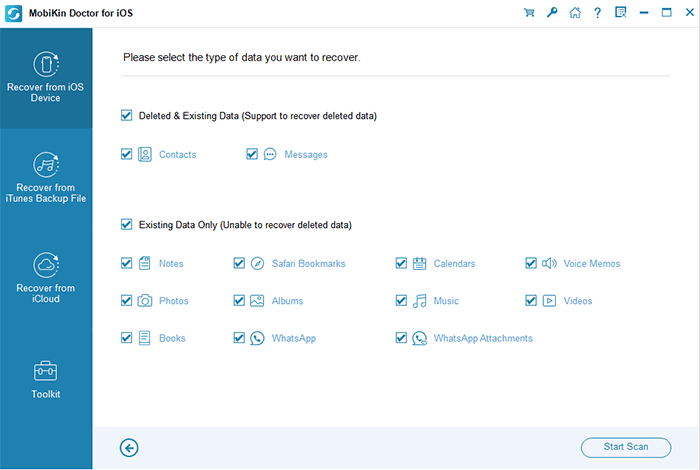
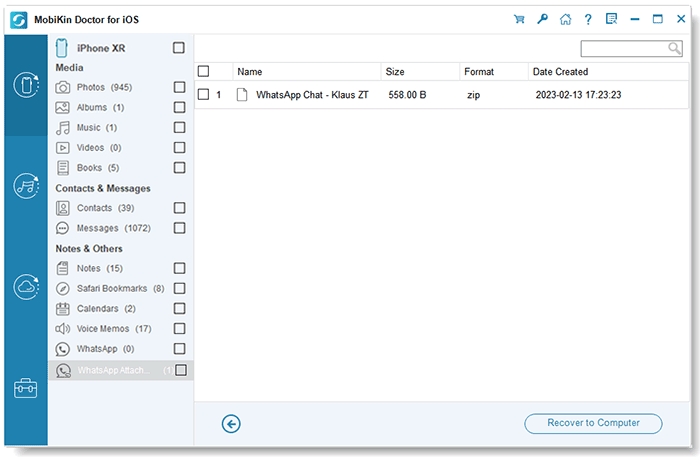
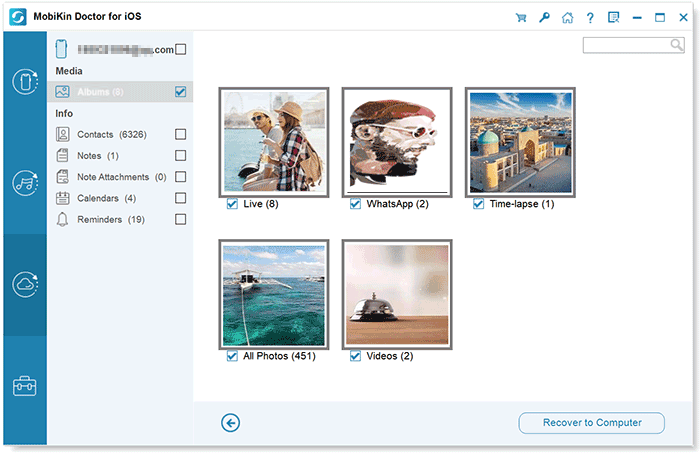
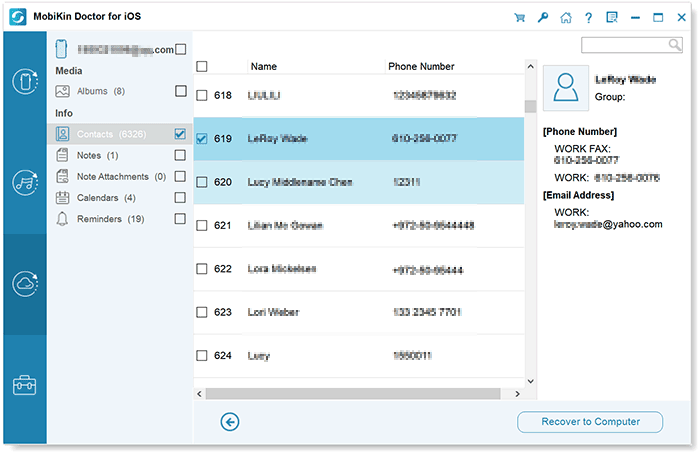
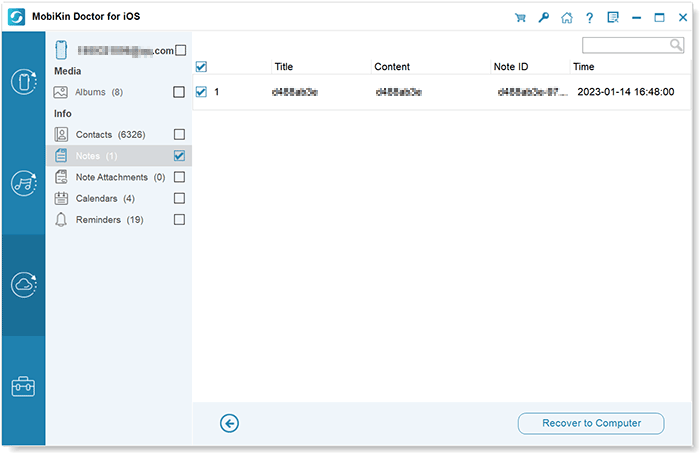
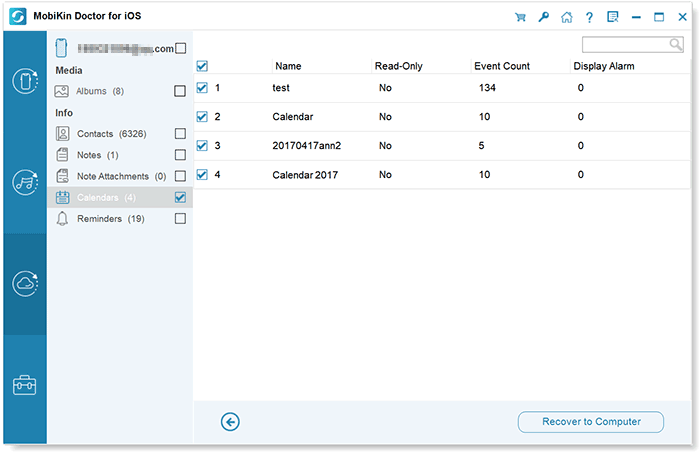
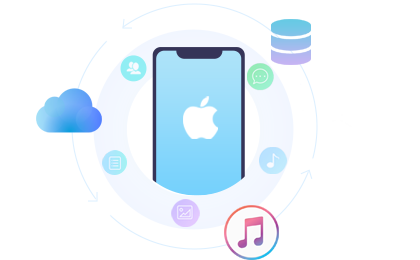
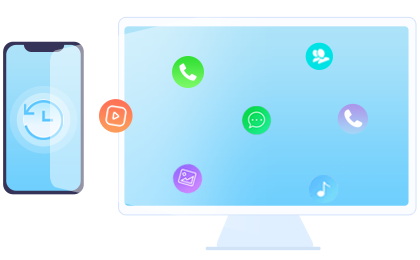
Doctor for iOS effortlessly recovers and restores 35+ data types, including photos, videos, WhatsApp chats, ensuring every piece of lost data is returned to you.
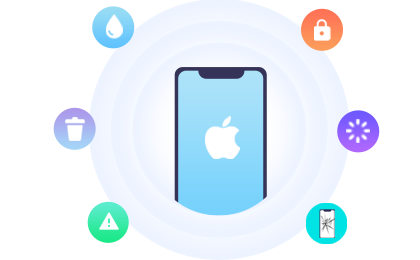
No matter the circumstances leading to data loss, Doctor for iOS assures fast and effective recovery results. With its formidable capabilities in iOS data retrieval, it efficiently restores lost, deleted, and inaccessible data in a variety of scenarios, including:

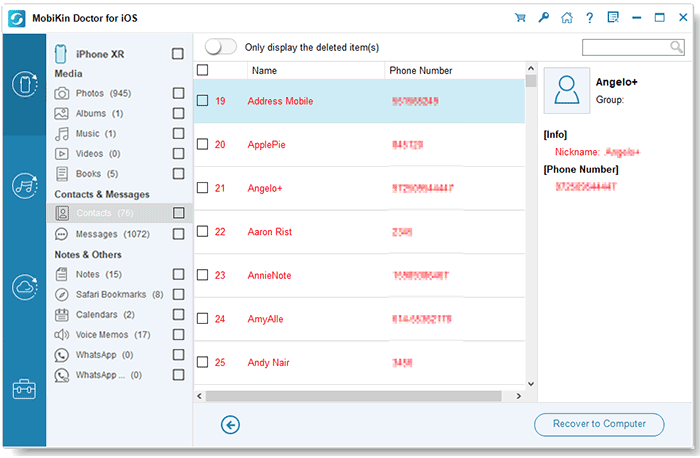
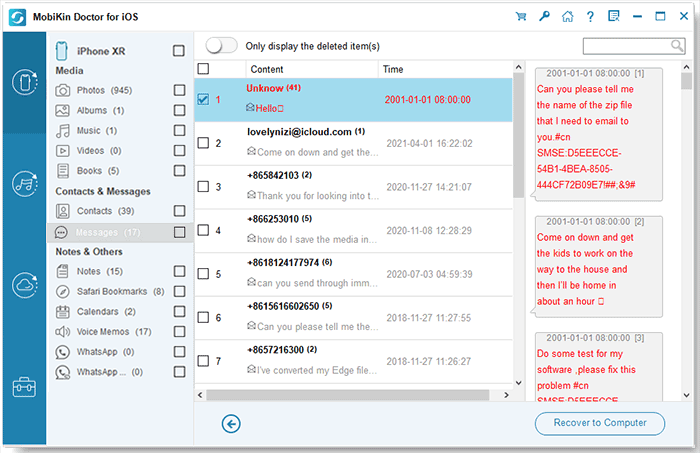
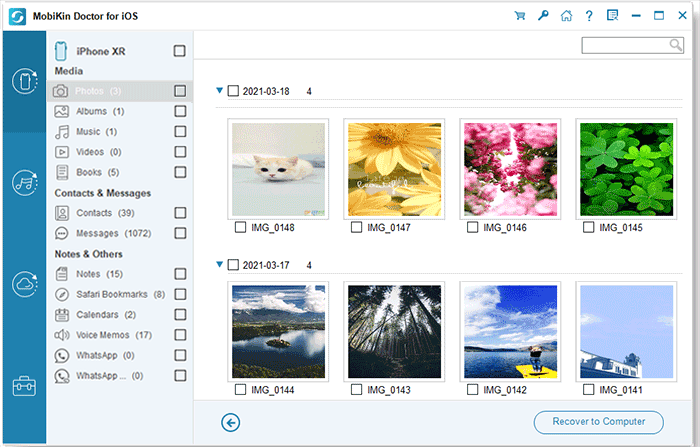
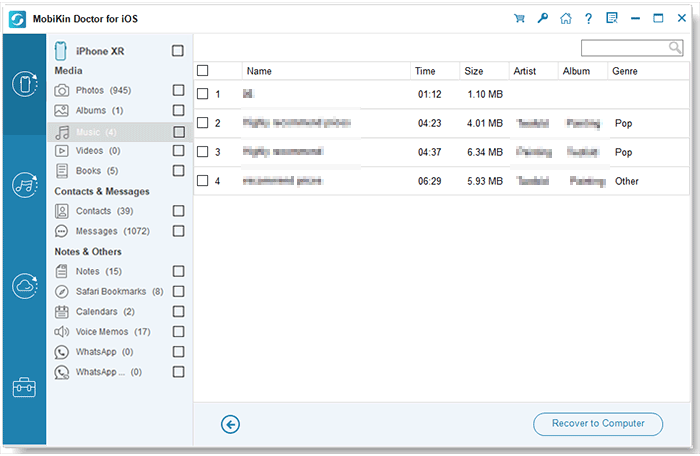
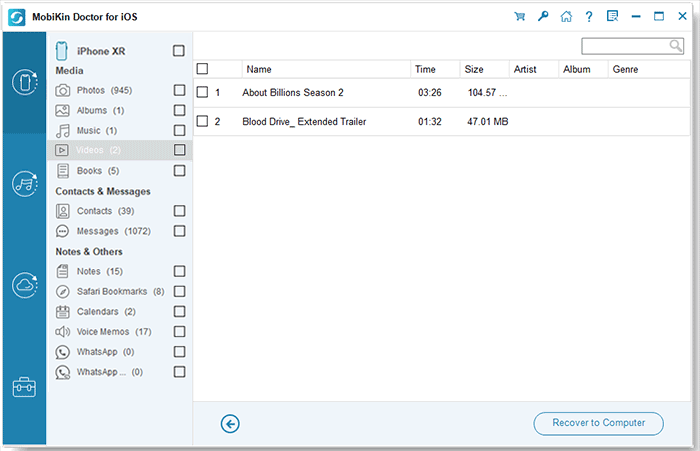
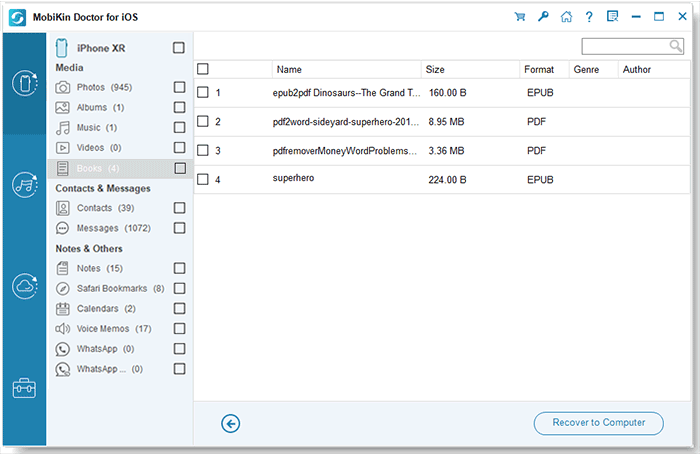
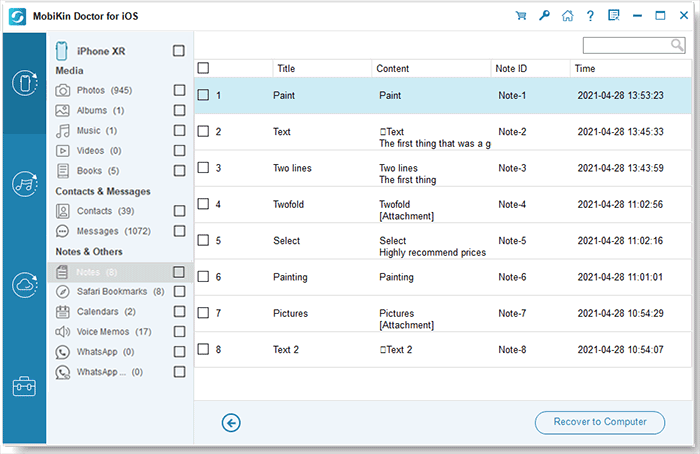
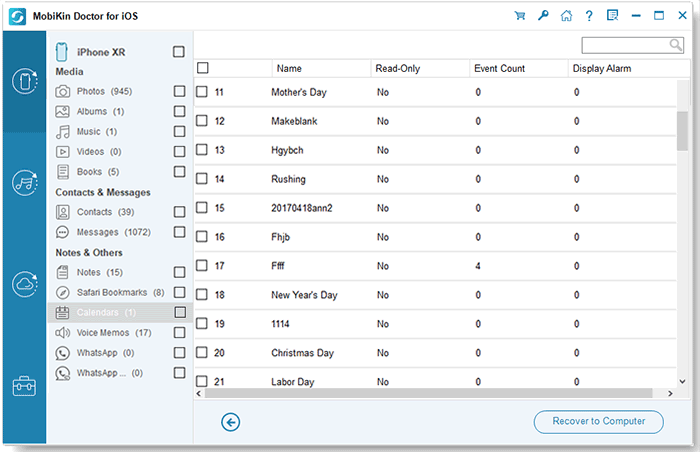
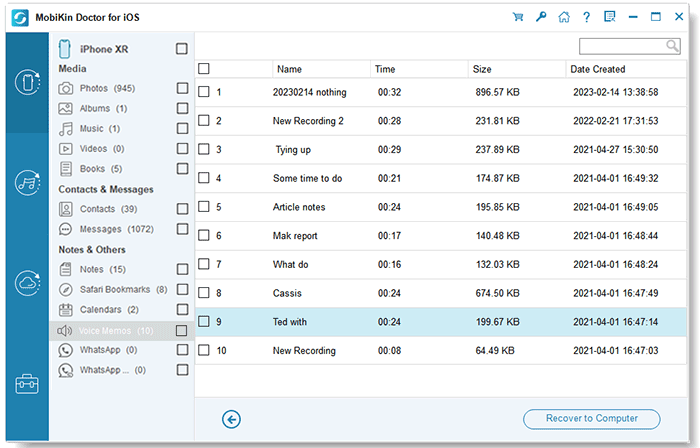
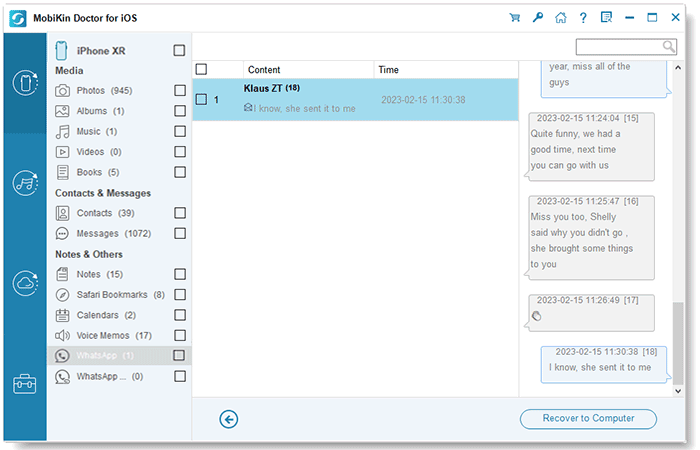
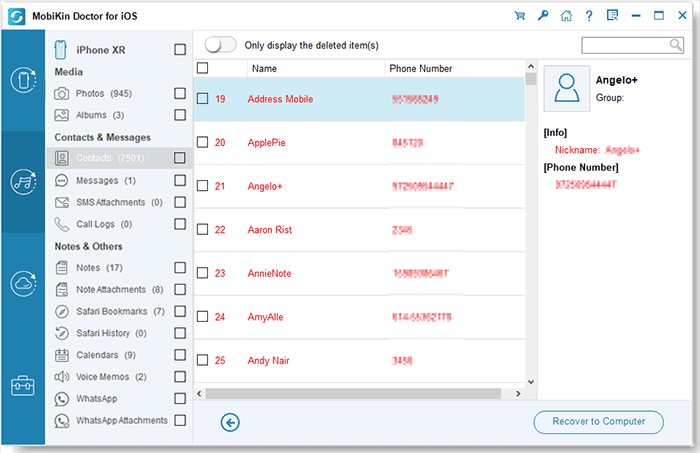
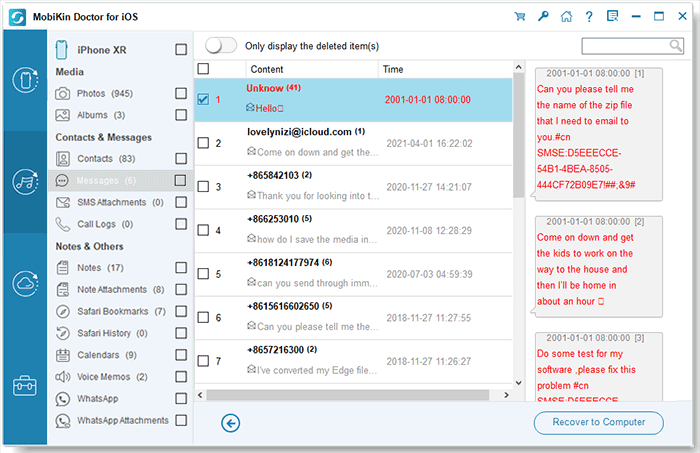
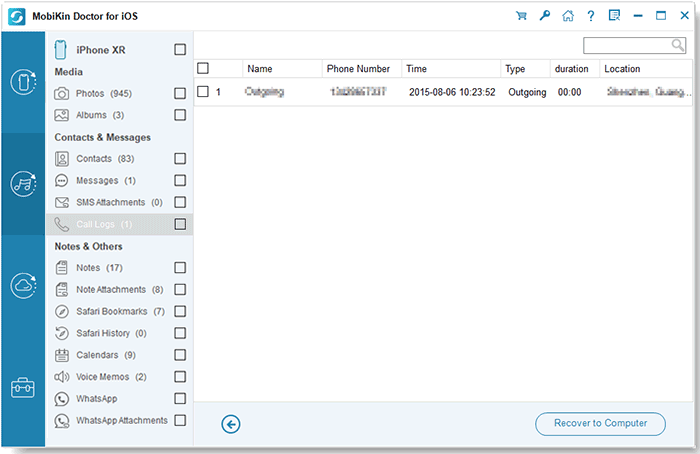
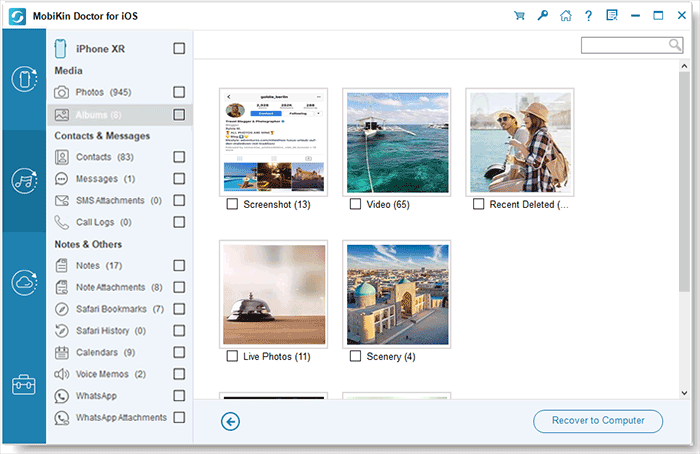
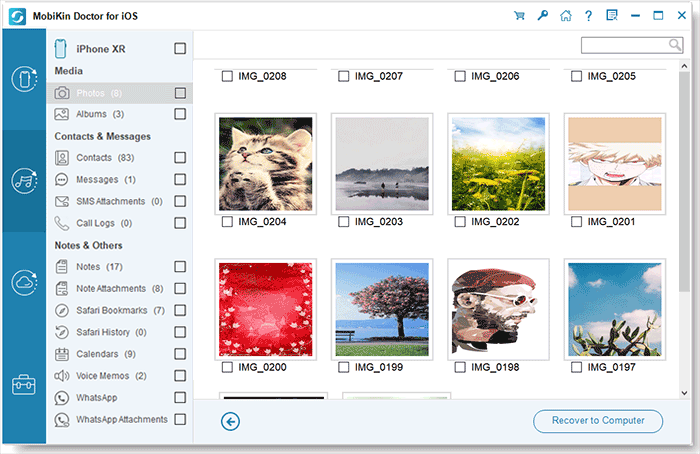
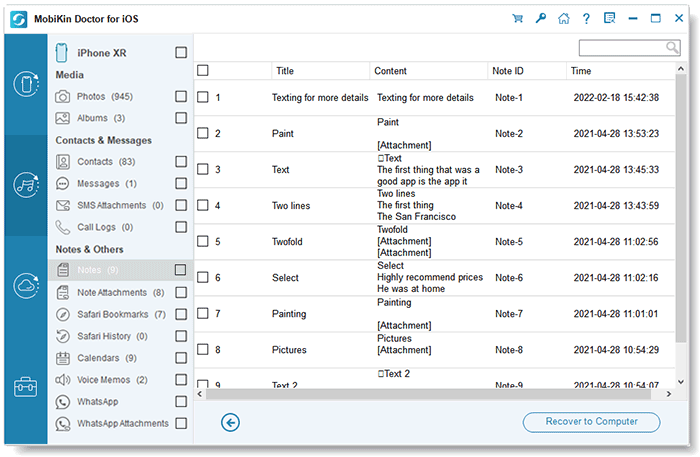
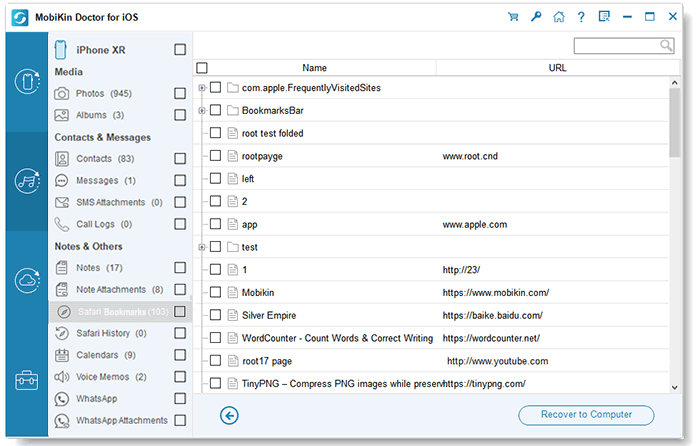
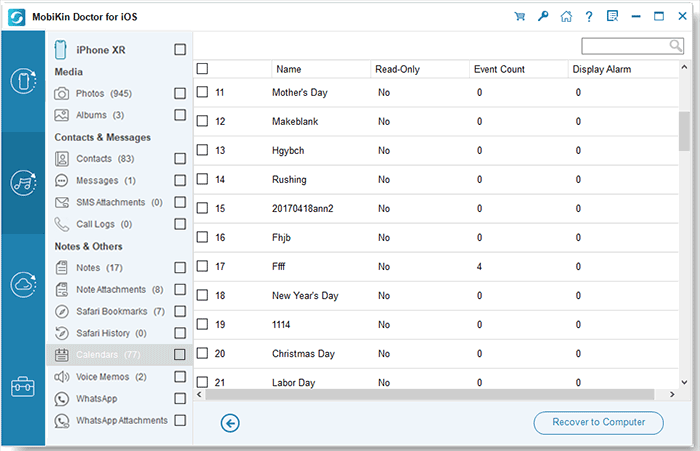
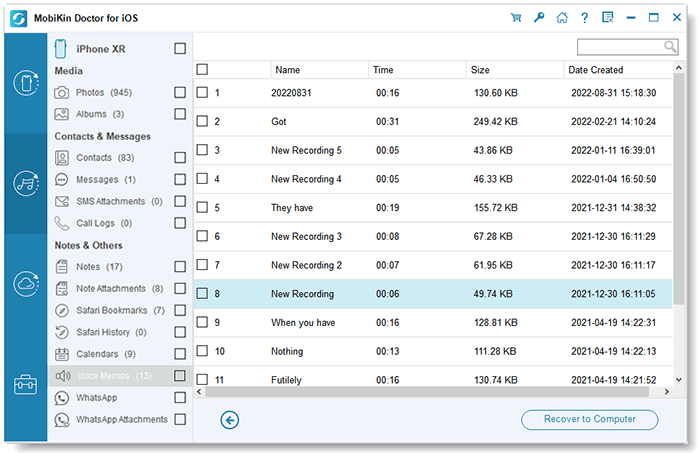
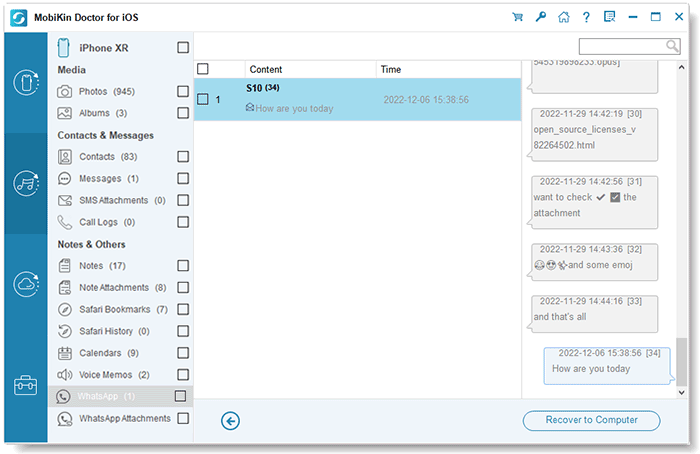
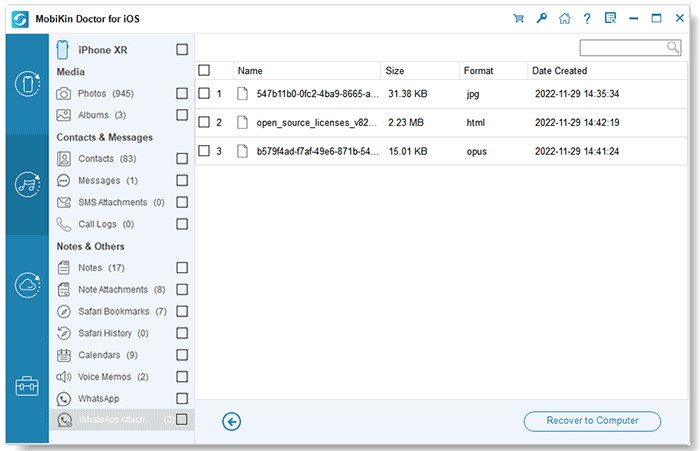
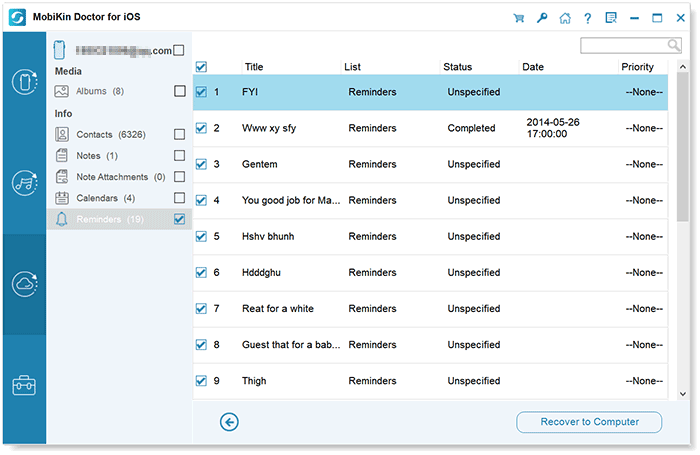
For precise data recovery, Doctor for iOS assists in scanning deleted files on your device or from backups. You can preview your selections before initiating recovery. Both deleted and existing data are visible, allowing you to seamlessly switch between tabs to preview found data. Easily recover and export various data types like Text Messages, WhatsApp, Contacts, Photos, Notes, Call History, and more to your computer with ease.
Once you start scanning files on your iDevice with this iPhone recovery software, the program will auto-san both deleting and existing data on your iPhone, iPad, or iPod touch. Then you can select and export them to your computer for backup or print. So this iPhone data recovery software can also be treated as a good iOS File Backup program.

Users of MobiKin Doctor for iOS Have Surpassed 740,000+ Worldwide.

After upgrading and updating - all old iPhone data lost for last 18 mos!! - Got it all back via iTunes restore - Thank you! And I have recommend this program to all my friends who have the same needs as me. Keep moving, guys!

I accidentally deleted some important contacts on my iPhone. I tried MobiKin Doctor for iOS for free. It successfully scanned the deleted contacts in my iPhone and this excellent iPhone data recovery software helped me recovered contacts from iPhone XS Max easily and quickly.