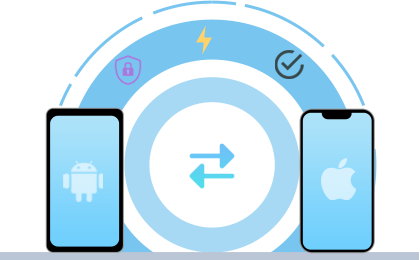
MobiKin Transfer for Mobile is your go-to tool for cross-platform data migration. It bridges the gap between iOS and Android effortlessly, enjoying easy media, contact, and message transfers across iPhone, iPad, and diverse Android devices.
Fully compatible with iOS 27 beta/iOS 26 and Android 17!
Supported OS: Windows 11/10/8/7
Secure Download30 days Money Back Guarantee

This data transfer tool simplifies cross-platform mobile transfer, seamlessly transfer data from phone to phone, ensuring a hassle-free transition to your new phone.

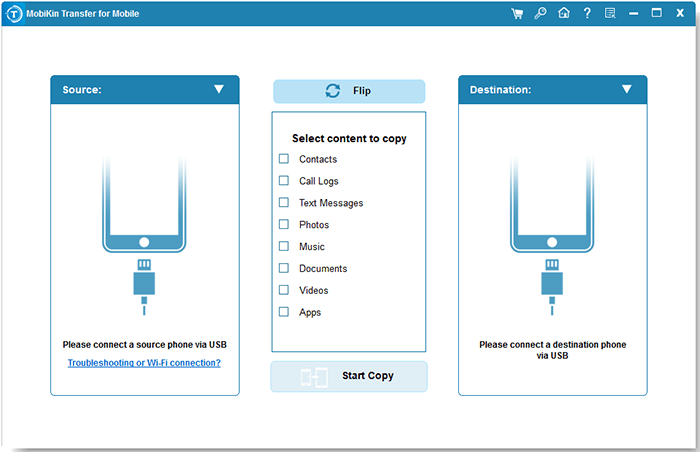
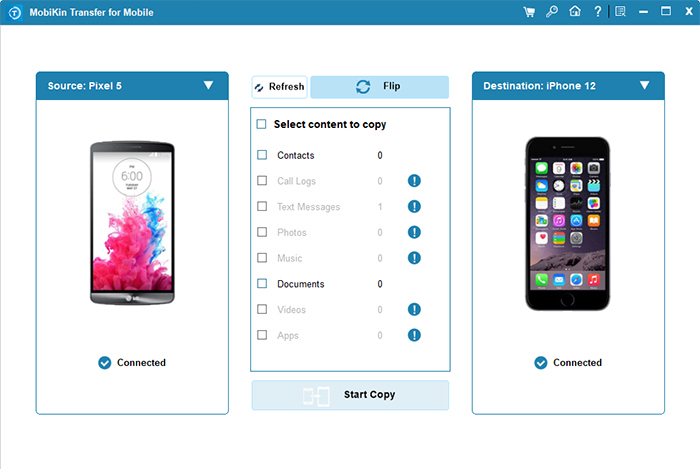
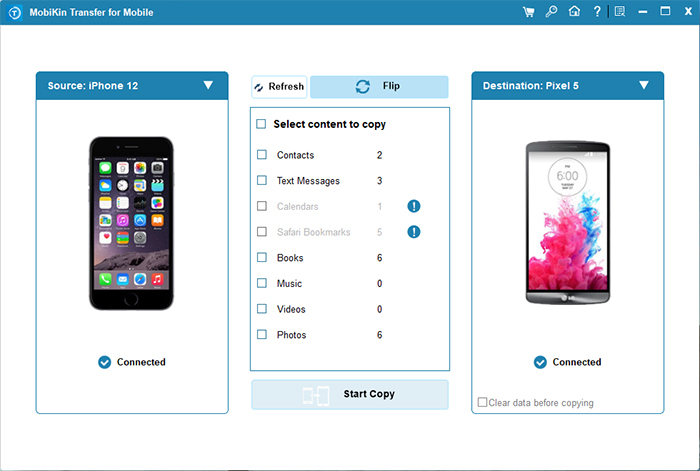
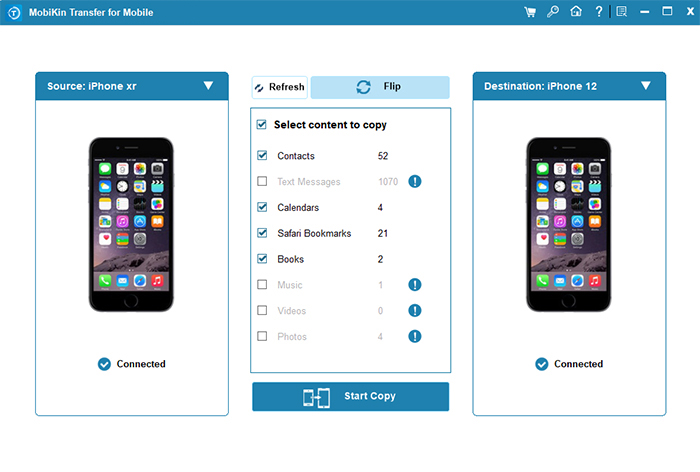
This phone transfer software empowers selective data transfer, allowing you to move contacts, SMS, call logs, photos, videos, music, apps, calendar, notes, and more between diverse operating systems. This targeted approach efficiently preserves precious phone memory, ensuring that only the essentials accompany you to your new device, simplifying the transfer process and prioritizing what truly matters.
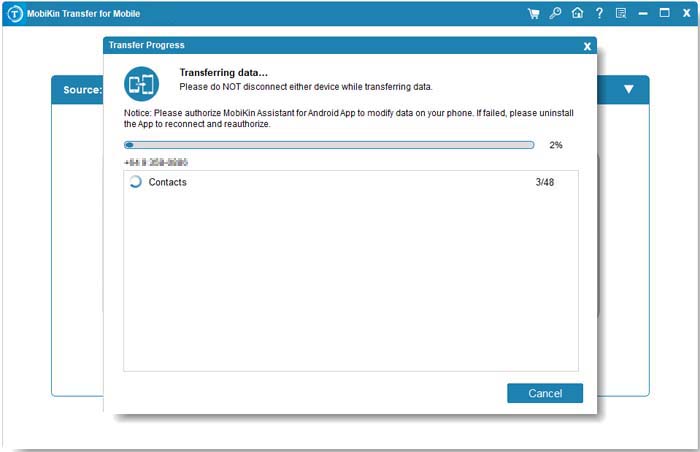
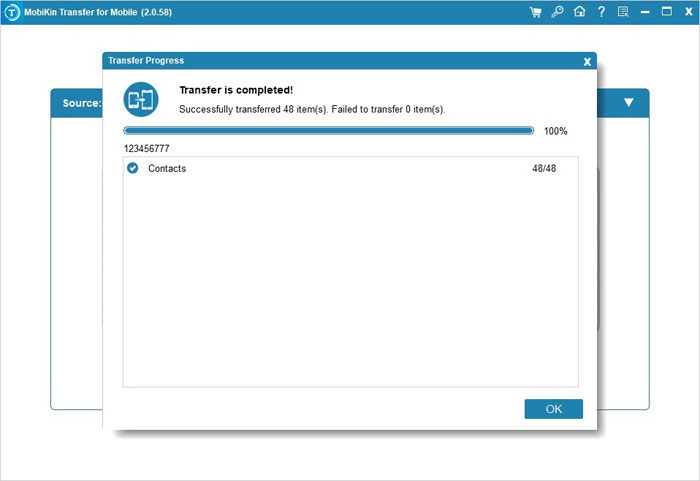
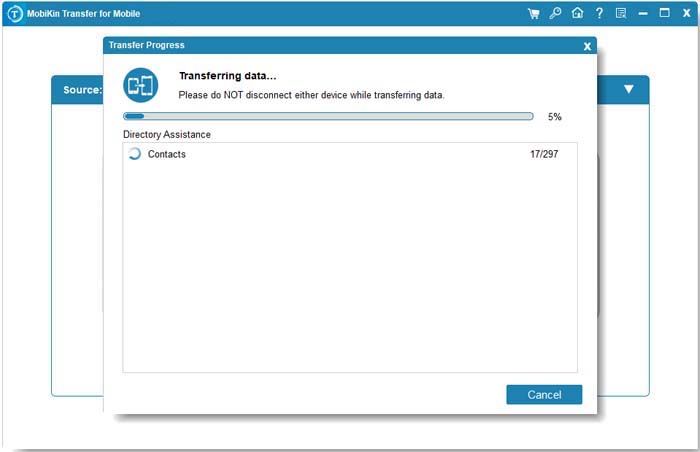
MobiKin phone transfer tool streamlines data transfer, offering a 20%-30% speed boost over leading market solutions. With a seamless process, it ensures zero data loss and steadfast progress. Rest assured, the entire transfer journey is guaranteed to be swift, secure, and seamless, making your data migration experience both efficient and worry-free.
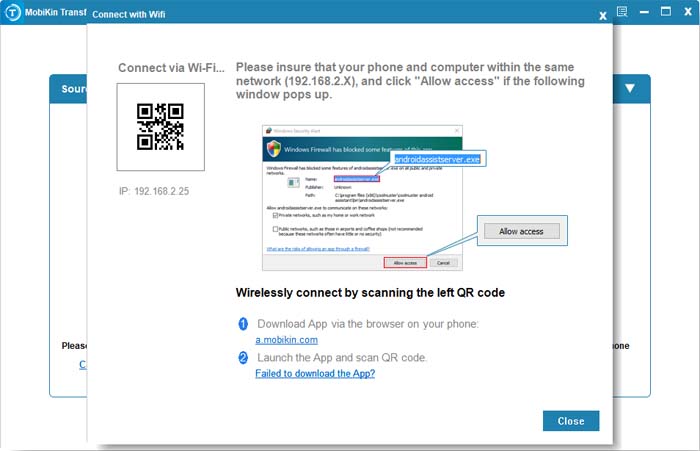
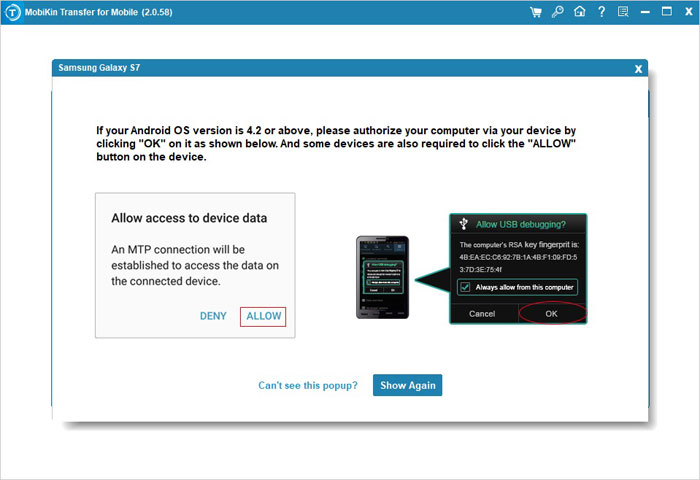
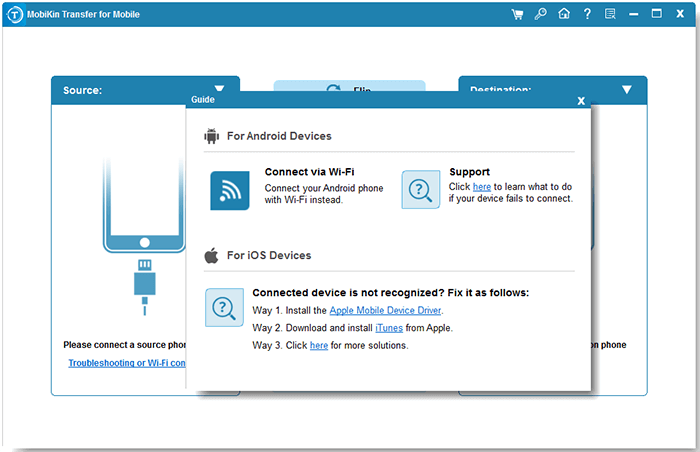
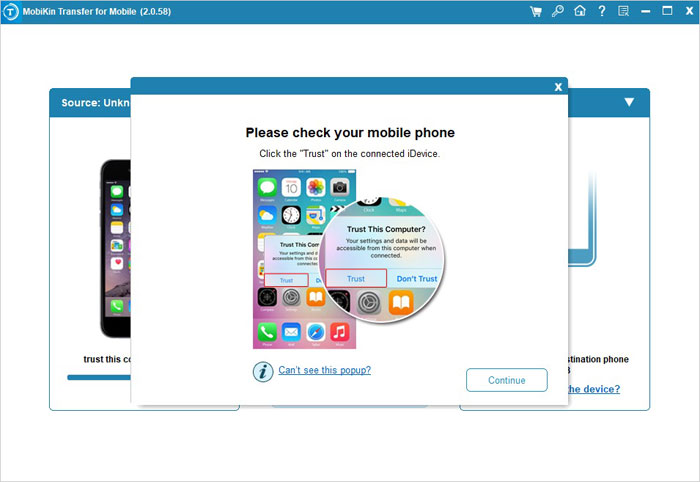
This user-friendly phone-to-phone transfer software ensures a straightforward 3-step data transfer process to transfer data to new phone. Whether tech-savvy or not can effortlessly complete the entire transfer journey.
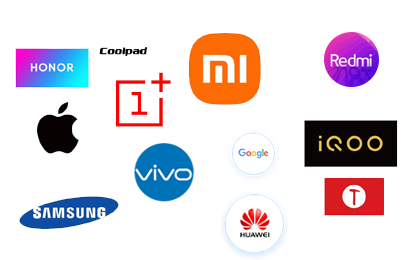
Designed for seamless content transfer between diverse mobile phones, this program is compatible with a wide range of devices from various manufacturers. Our technical team has tested and confirmed its effectiveness with almost 6000+ mobile phones.

Users of MobiKin Transfer for Mobile Have Surpassed 740,000+ Worldwide.

It is really good! It is convenient to use the software to transfer various files between different mobile phones!
I just used the software to transfer all the contacts from Samsung phone to my new iPhone successfully! It only cost me about two minutes!

It is really convenient to transfer files between different mobile phones with the software. It only cost me 5 minutes to transfer all the files from Samsung to my new iPhone!