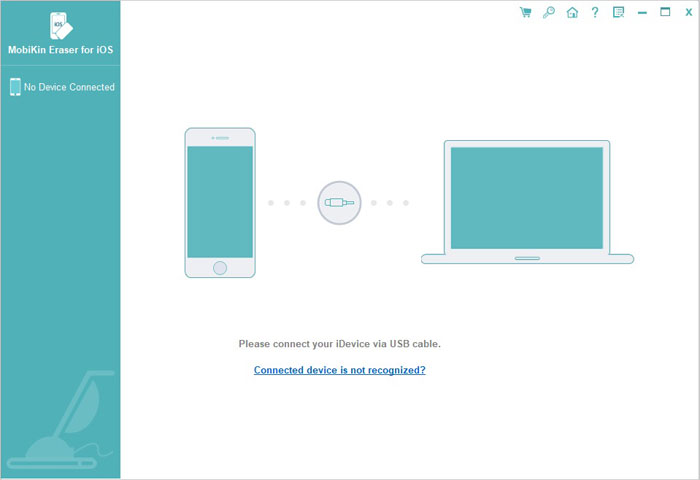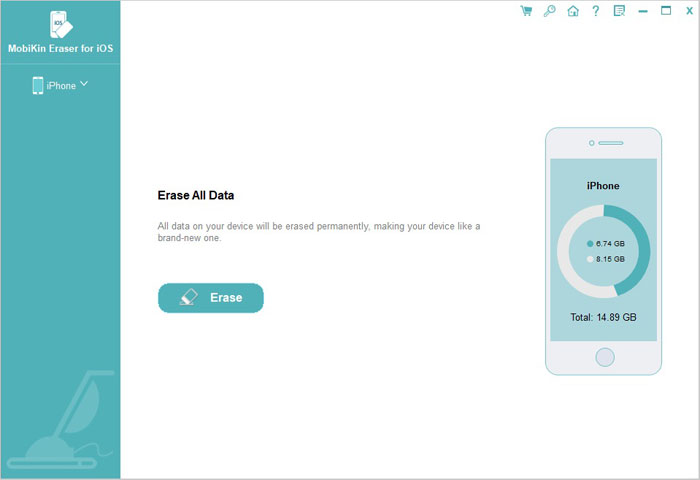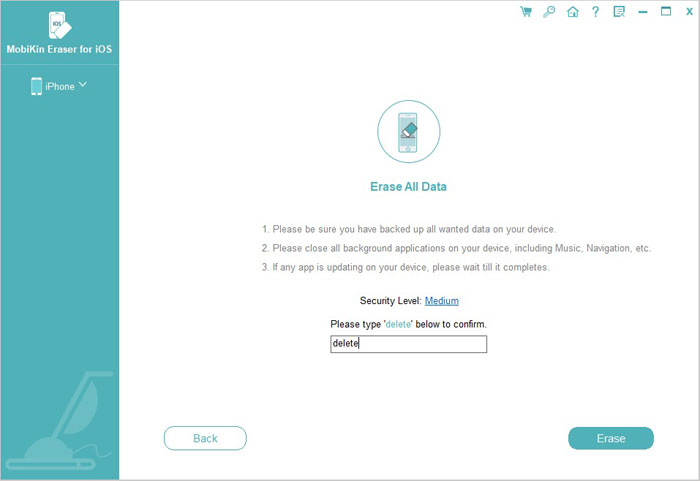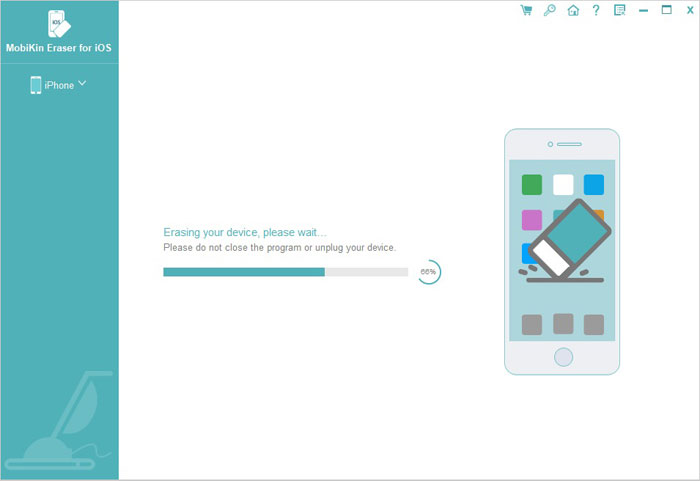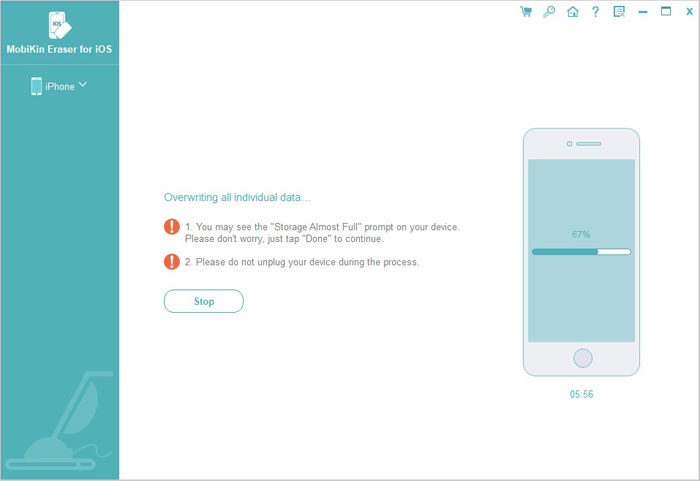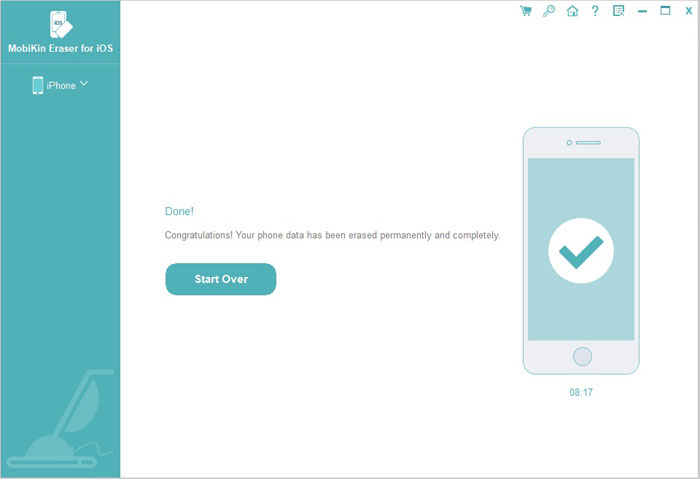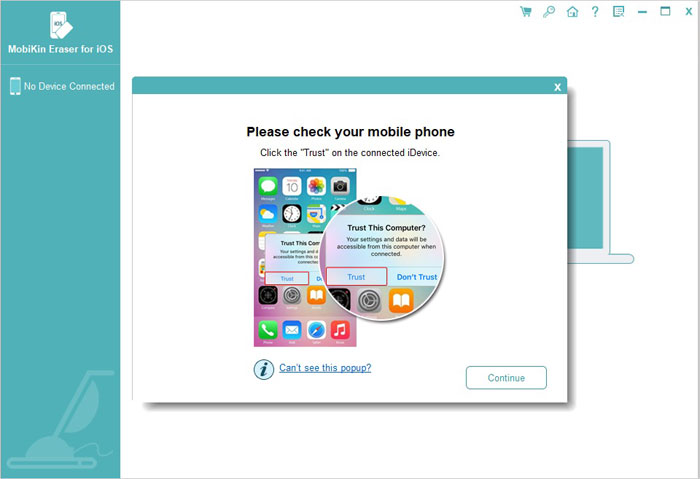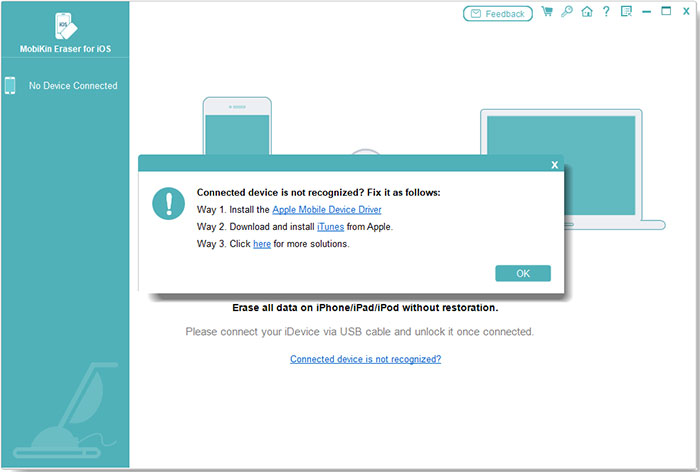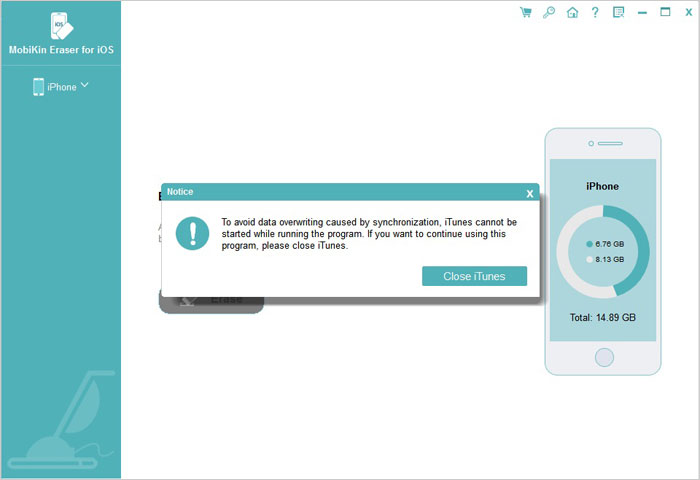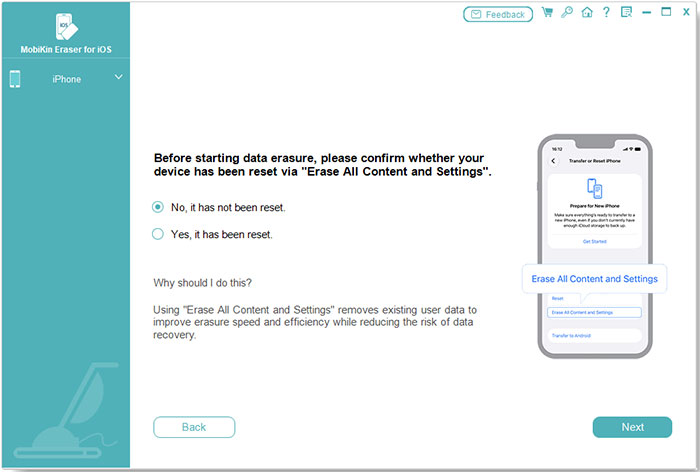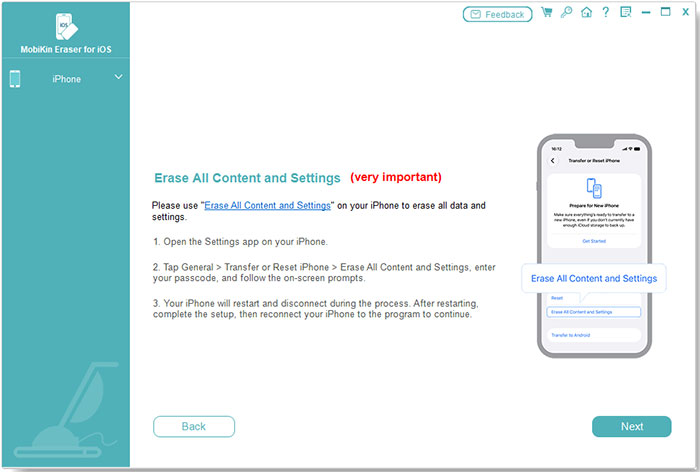

MobiKin Eraser for iOS is one of the top eraser programs that provides you the functions to erase all deleted files, private data, system settings and other files on iOS devices with no chance to be recovered.
Fully compatible with iOS 27/iOS 26 and iPhone 18.
Supported OS: Windows 11/10/8/7
Secure Download30 days Money Back Guarantee

Before parting with your old iPhone or iPad, it's crucial to ensure the complete eradication of sensitive data. Eraser for iOS goes beyond a factory reset, using military-grade methods to permanently delete various elements on your device.
This method ensures the irretrievable deletion of personal data, including contacts, messages, call history, calendar, notes, reminders, Safari bookmarks, as well as media files, apps, documents, and settings. Even if you sell your device on platforms like eBay, you can be confident that your information is securely erased and cannot be recovered by professional tools.

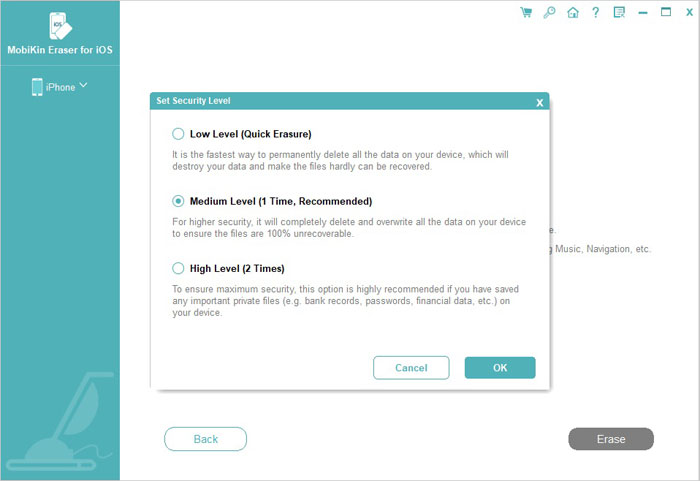
Eraser for iOS offers three distinct erasing levels: Low, Medium, and High, allowing you to choose the security level that best suits your needs.

Why we need to erase deleted data from iPhone/iPad?
Simple deletion on iPhone/iPad doesn't ensure complete removal; recovery software can still retrieve deleted data. For permanent deletion without recovery possibility, use Eraser for iOS to erase these deleted files completely.
What data we can erase?
Supported data types include Contacts, Messages, Calendars, Reminders, Notes, Voice Memos, Photos, Call history, Safari Bookmarks, etc. Eraser for iOS ensures these deleted files are irrecoverable by any tools.

To address sluggish performance on your iPhone, utilize Eraser for iOS's comprehensive erasure mode to thoroughly clean the entire storage space. This process not only deletes contacts, messages, call logs, photos, calendars, and voice memos but also removes unwanted temporary and system junk files, unused apps, large media files, and deleted items. By doing so, you can significantly free up iPhone storage space, enhancing device speed and restoring your iPhone to a faster, like-new performance.

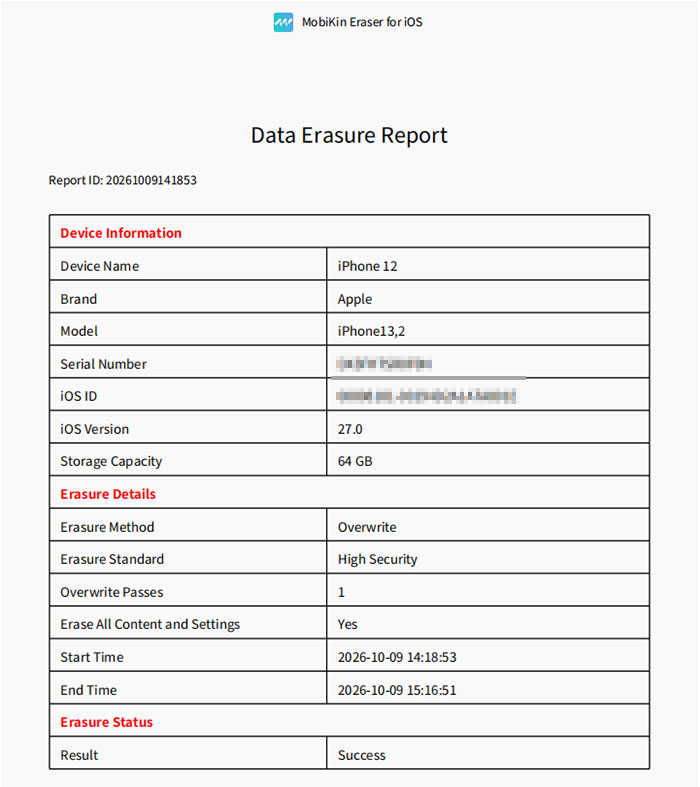
Your iPhone stores a wealth of personal information, including contacts, messages, emails, passwords, and accounts. If you prioritize information security, you can utilize this data eraser at any time to completely wipe all content before selling or gifting the device. Eraser for iOS can permanently erase all content and settings on your iPhone, overwriting your phone's storage space to guarantee the irrecoverability of your files.

Eraser for iOS - A comprehensive tool for securely deleting all iPhone data. Simple and safe to use, it's the ultimate solution for wiping your device clean.
Users of MobiKin Eraser for iOS Have Surpassed 740,000+ Worldwide.

I am going to switch to the iPhone X and I want to sell my old iPhone 7. To protect my information, I use this program to erase my phone data and try some recovery tool to restore the files. Guess what! All the erased data cannot be detected and now I can sell my iPhone without any concern.

I love this program and it really help me permanently wipe all data on my old iPhone 5S, and now i have donated it.

It cleaned my iPhone and reset the OS. Now it is ready to be reused safely! I wish iTunes worked that well! :)