How to Fix iTunes Error 0xE800002D with 6 Solutions [100% Success]
"I am experiencing the error 0xE800002D when attempting to connect my iPhone 16 to iTunes on my Windows 11 Laptop. Is there anyway of fixing this without a re-install of iTunes? Thanks." -- Jeffink
While syncing iPhone to iTunes, you may encounter many errors, and error 0xE800002D is one of them. Many users reported that they were overwhelmed by the message "iTunes could not connect to this iPhone, an unknown error 0xE800002D occurred". If this has happened to you too, you've come to the right place. Here we have a total of 6 effective solutions to fix iTunes error 0xE800002D, and we recommend you to try them one by one.
Part 1: Causes of iTunes 0xE800002D
There are many reasons for encountering the 0xe800002d error when trying to sync your iPhone with iTunes, and here are some of the reasons you need to know.
- Outdated iTunes version – Outdated iTunes version can cause various iTunes errors. For example, the previously mentioned iTunes error 4005, Error 0xE8000015, error 11, etc. and will render it incompatible with newer iPhone, iPad and iPod models.
- iTunes Update Failure – The Windows version of iTunes has been known to experience frequent update failures. That is, an update component has failed and no longer recognizes an available update version. The best solution in this situation is to reinstall all iTunes components.
- Using a dated Windows OS version - If your machine is still running Windows Vista or earlier, then iTunes will not be able to update to the latest version. In this case, you need to update Windows to Windows 7 or above.
Click to Learn:
Part 2: How to Fix Error 0xE800002D on iTunes
Tip 1: Update iTunes Version
As mentioned above, an outdated version of iTunes is one of the causes of error 0xE800002D. You can update your iTunes on Windows or Mac to the latest version by following the steps below.
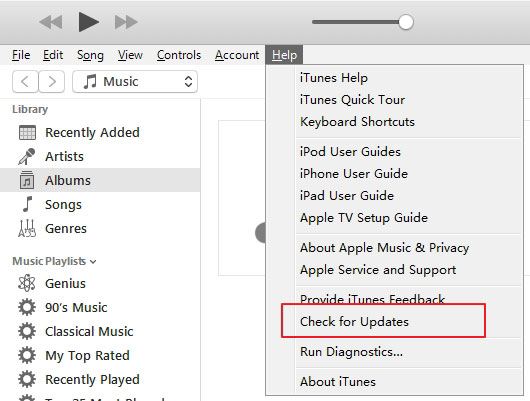
Update the iTunes version on Windows:
- Run iTunes on your PC and choose "Help" from the top menu bar.
- Select "Check for Updates".
- Click the "Download iTunes" option from the popup box.
- Follow the instructions to download and install the latest iTunes version.
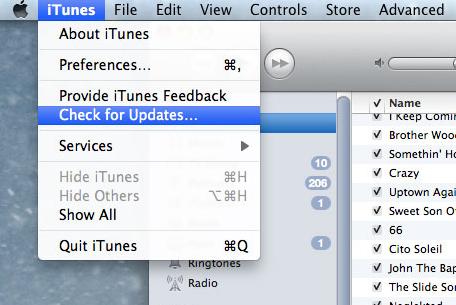
Update the iTunes version on Mac:
- Launch iTunes on your Mac and click the "iTunes" menu.
- Click on "Check for Updates" from the options of the tool's menu.
- If there's a new version of iTunes available, just download and install it.
Extended Reading:
Tip 2: Restart your iOS Device and Computer
If both your computer and iOS device are working fine, then you can try to restart on iTunes and your device to see if the 0xE800002D error iPhone problem can be fixed.
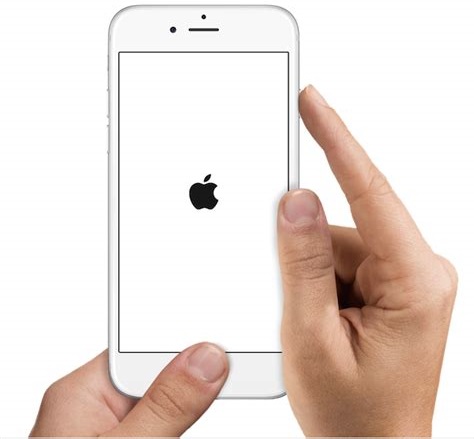
Restart your iOS device/iPhone: Press and hold the side button, then slide the slider to shut down your iPhone. Turn on the phone again to complete the restart.
Restart Windows: Click the Start button in the lower left corner of the desktop. Tap the power button, then select "Restart" from the list of options.
Restart Mac OS: Go to the Apple menu and select the "Restart" option.
Tip 3: Update Windows Version
If you are still using an outdated version of Windows Vista or XP, then this is most likely the reason why you are experiencing 0xE800002D error on iTunes. This is because older versions of Windows do not support updates to some of Apple's software. Therefore, you must update your Windows OS to Windows 7 or higher, and then install the latest version of iTunes.
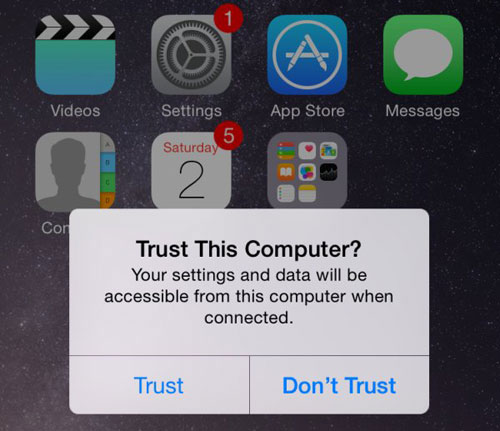
Tip 4: Tap Trust this Computer
When you connect your iPhone to your computer for the first time, it will ask you to trust this computer. You need to tap "Trust this computer" on the pop-up window on your iPhone. Otherwise, iTunes will not be able to recognize this iOS device, which will result in error0xe800002d on ipad/iPhone/iPod touch. Therefore, it is recommended to check whether your computer is trusted on your iOS device. (Proven Tips to Trust or Untrust A Computer on iDevice)
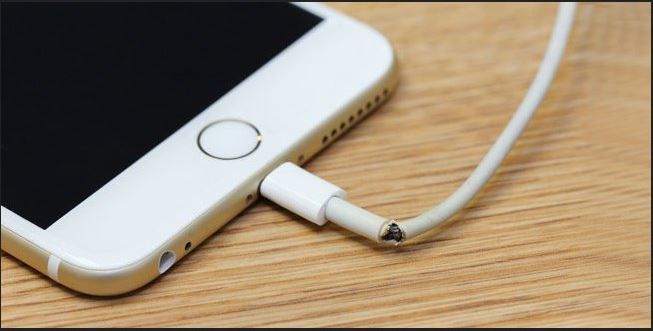
Tip 5: Change Another USB Cable and USB Port
iTunes error 0xE800002D on Mac/PC can also be caused by a faulty USB port. You can check your Lightning USB cable for any rips or tears. You can try using a different USB port, or buy a new Lightning USB cable, to see if that fixes the problem.
Tip 6: Fix iOS Device Using iOS System Recovery
However, iTunes bugs keep popping up like whack-a-mole, and the code names are different. If you want an ultimate way to fix all iTunes errors, then iOS System Recovery is the weapon you need. It is a professional iOS troubleshooting tool that can help you fix more than 100 system issues on Apple devices.
Standout features of iOS System Recovery:
- Fix iTunes/iPhone error like 0xE800002D, 14, 17, 4013, 3600, etc.
- Fix broken iOS system to normal.
- Update and downgrade iOS without using iTunes.
- Offer two repairing modes to fix 100+ iOS issues.
- Supports all iPhone, iPad and iPod touch running all iOS versions.


How to fix iTunes 0xE800002D error with iOS System Recovery:
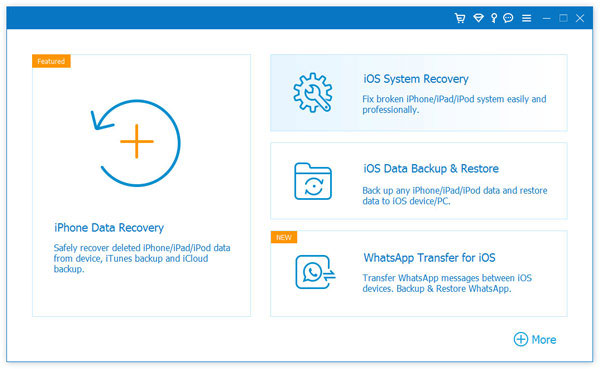
Step 1. Go for the "iOS System Recovery" section
Download, install and launch this program on your computer. Go to the left-top corner and select "iOS System Recovery".
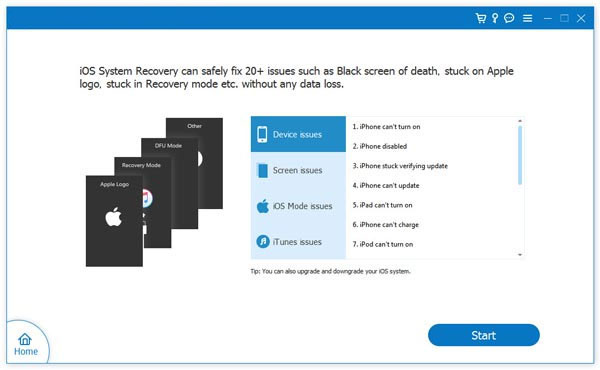
Step 2. Connect your iOS device to the computer
Plug your iPhone or iPad to this computer via USB and click "Start". Then, follow the on-screen guide to continue.
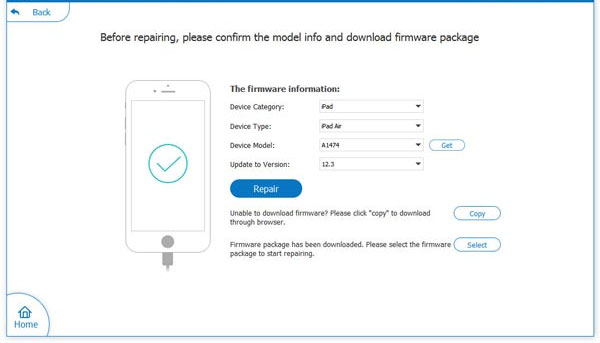
Step 3. Fix error 0xE800002D on iTunes
Select the information that matches your device, and click "Repair", you can successfully fix 0xE800002D error on iPhone.
The Bottom Line
That's all about how to fix iTunes 0xE800002D error. We all know that various problems are inevitable when using mobile phones. The key is that we can master the method of solving the problems. Hope the six methods mentioned in this guide can help you successfully resolve the iTunes error you encountered. If you want a hassle-free and complete repair package, iOS System Recovery is a one-stop solution to solve iOS and iTunes problems. It's worth a try.
Related Articles:
Top 7 Ways to Fix iPhone Slow after iOS 26/18 Update
10 Methods to Fix iTunes Error 54 for iPhone/iPad - 100% Working
How to Fix iPhone/iTunes Error 56 Effortlessly? 7 Ways You'd Better Know
