[8 Tips] What to Do before Getting a New iPhone 17/17 Pro/Air
"Hey everyone! The iPhone 17 Pro is finally here, and I can't wait to get my hands on this dream phone. But I'm wondering, what do I need to do before getting a new iPhone?"
The much-anticipated iPhone 17 series is here at last! But before you rush to buy one, there are a few important steps to take care of first. With iPhone season upon us, many are thinking about upgrading. Whether you're making the switch from Android or sticking with iPhone, this guide will help you prepare for your new device. Let's dive in and see what to do before getting a new iPhone 17/17 Pro/17 Pro Max/Air!
- Part 1: Back Up Your Old Phone
- Part 2: Update Your Old Phone to The Latest OS
- Part 3: More Things To Do Before Getting a New iPhone
> Tip 1: Clear Storage and Deleted Unused Apps
> Tip 2: Turn Off Two-Factor Authentication
> Tip 3: Upload Your Photo Library to iCloud
> Tip 4: Remove SIM and SD Cards
> Tip 5: Erase Your Personal Data
> Tip 6: Disconnect Your Phone From Accounts and Devices
Part 1: Back Up Your Old Phone
1. Back Up Old iPhone with Assistant for iOS
If you're looking to back up your old phone before getting a new iPhone, MobiKin Assistant for iOS is a great choice. Why? It lets you back up your phone to your computer flawlessly, with no need to buy extra cloud storage.
Unlike Google Drive and iCloud, which offer limited space for storing data, MobiKin Assistant for iOS takes away the worry of running out of space. It allows you to back up data from any device quickly and easily. Plus, the user-friendly interface makes it simple to use, even for those who aren't tech-savvy.
Main Features of the MobiKin Assistant for iOS:
- Back up your iPhone/iPad data to your computer and restore it to your device with one click.
- Selectively transfer photos, videos, calendars, notes, contacts, messages, and music from your iPhone/iPad to your computer, and vice versa.
- Smooth iPhone backup without the risk of data loss.
- Supports one-click iTunes backup and restore.
- Fully compatible with all iOS systems, including the latest iOS 18/26, and all iPhone models, including iPhone 17/16/15/14/13/12/11/X/8/7/6.


How to back up old iPhone data selectively:
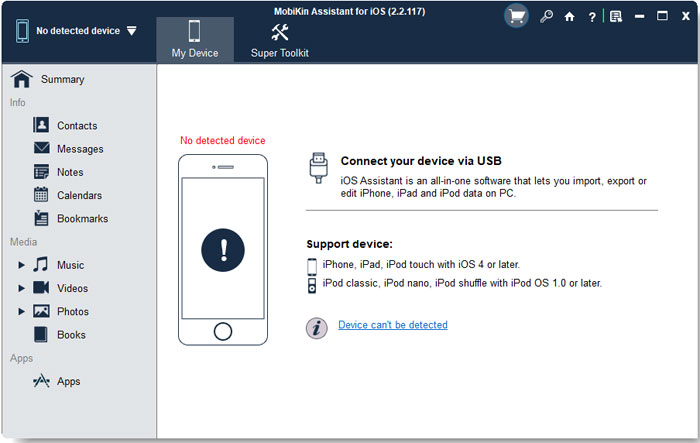
Step 1. Download, install, and launch the MobiKin Assistant for iOS on your PC or Mac. Then, using a USB cable to connect your iPhone to the computer, and wait for the main interface to be shown.
Step 2. On the left side, you will note a list of files. Click on the desired categories and check the boxes next to the files that you want to back up to your PC.

Step 3. On the top menu, find and click on "Export" to transfer and back up your selected files from iPhone to computer.

How to back up old iPhone data with one click:
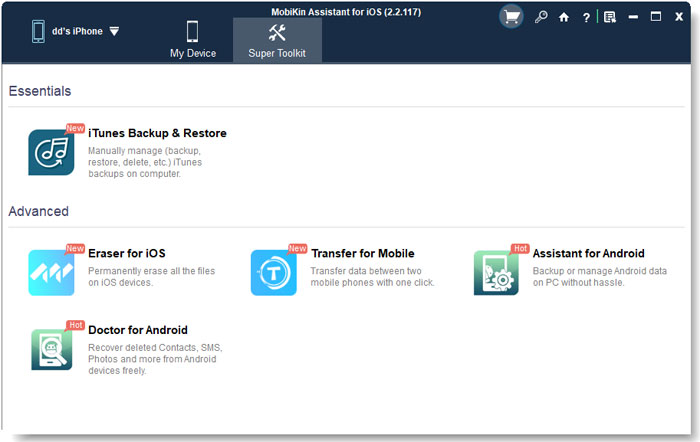
Alternatively, if you want to back up all the data on your iPhone in one click, you can navigate to the top menu bar and select "Super Toolbox." Select "Backup" on the new interface. Select your old iPhone and click OK to start the one-click backup.
Video Guide:
2. Back Up Old iPhone to iCloud
Backing iPhone with iCloud has become very popular among people who dislike using iTunes. However, keep in mind that every iCloud account only provides 5GB of free storage space. So, this method will not be a good choice if you want to back up more than 5GB. (Not enough iCloud storage?)
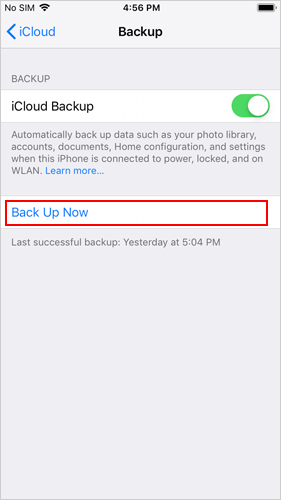
- Ensure iPhone has a stable Internet connection.
- Go to Settings and then "your iCloud account," followed by iCloud. (Ensure iCloud Backup is turned on.)
- Click on "Back Up Now" for backup process to begin.
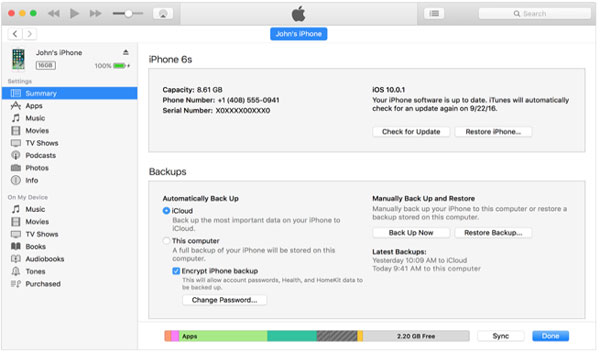
3. Back Up iPhone with iTunes or Finder
If you have the version macOS 10.15 Catalina, you can back up using iTunes or Finder. This is one of the simplest methods to use if you have the aforementioned version. If you do not, we must warn you that it can take several hours to download. Some people have noted their upgrade tiresome due to constant pauses even with a stable Internet connection. It does not hurt to try, but remember that you have been warned about this very possible downfall!
- Connect your old device to your computer and then open Finder or iTunes.
- On the window, locate your old phone and, if you want to back up "Health and Activity Data," click on "Encrypt Local Backup."
- When prompted, create a password and then click on "Back Up Now."
4. Back Up Android to Google Drive
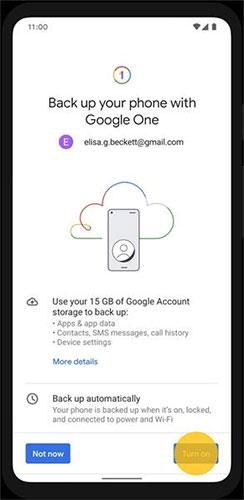
If you're switching from an Android to an iPhone, Google Drive can be a useful tool for backing up your Android data. However, keep in mind that it can only back up certain data, like apps, photos, calendar events, call history, and contacts.
Here's how you can back up your Android phone using Google Drive:
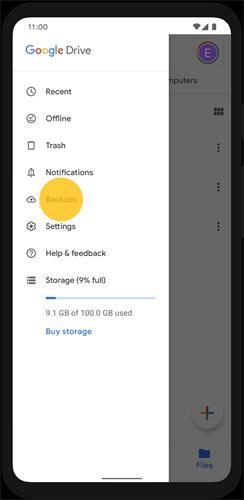
- Open the Google Drive app on your Android phone.
- Tap the three horizontal lines (menu) in the top-left corner, then choose "Backups".
- Select "Backup Settings".
- Review the backup options, then hit "Turn On" at the bottom.
- Tap "Back Up Now" to start the backup process.
- Wait for the backup to finish, and you'll see a confirmation of your backup on the screen.
Click to See:
Part 2: Update Your Old Phone to The Latest OS
It is crucial to update the OS version of your old phone to reduce any error during transfer. Depending if you have iPhone or Android, the process of this update varies.
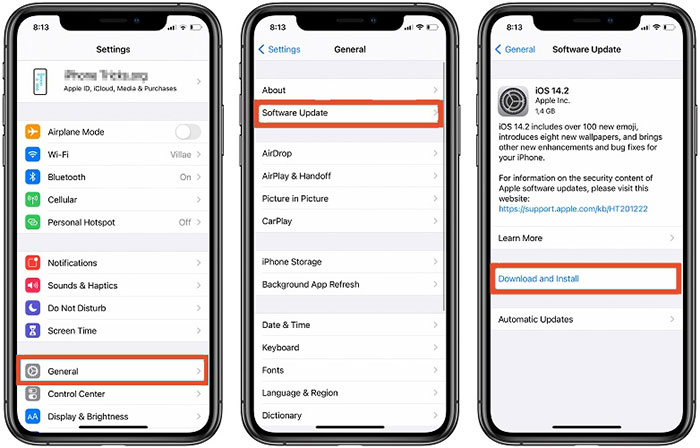
1. How to Update iPhone to the Latest iOS
- Turn on the Wi-Fi on your iPhone and then go to "Settings," followed by scrolling down and clicking on "General."
- Click on "Software Update" and then click on "Download and Install."
2. How to Update Android to the Latest OS
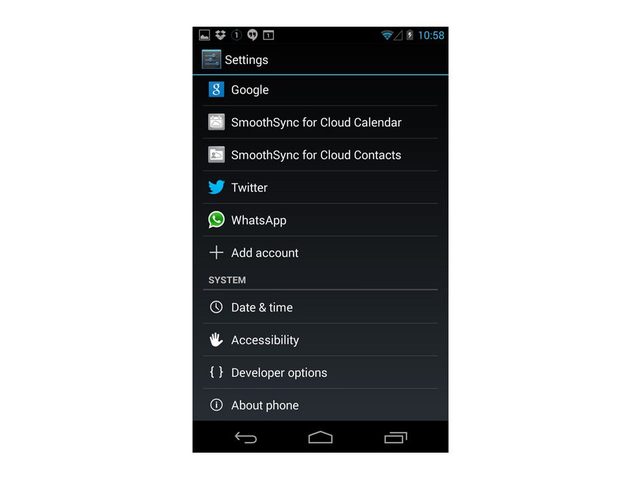
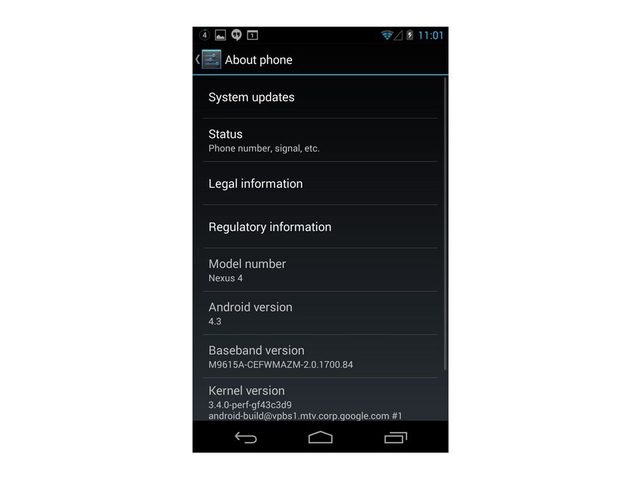
- Turn on the Wi-Fi on your Android device and then open "Settings."
- Scroll down and then click on "About Phone," followed by clicking on "Software Update."
- Click on "Check Now for Update." If an update appears, click on "Download and Install Now."
Check If You Need:
Part 3: More Things To Do Before Getting a New iPhone
Tip 1: Clear Storage and Deleted Unused Apps
The first step that you undertake should consist of clearing your old phone's storage. Unnecessary files should be deleted. It is common for duplicate files to exist. Delete any extras! Also, remember to scan your old phone for viruses, as you do not want to transfer any virus to your new phone.
Shorten your backup process even more by deleting any unused apps. Remember that there are some apps that are part of the iPhone's factory settings, so you do not have to worry about those apps. (How to Free up iPhone storage?)
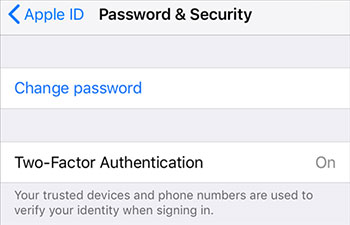
Tip 2: Turn Off Two-Factor Authentication
Before you switch to your new iPhone, if you utilize an authenticator app on your device to create two-factor authentication codes (FACs), turn off FACs for those websites that you utilize codes on. Ensure that you do so before switching to your new device.
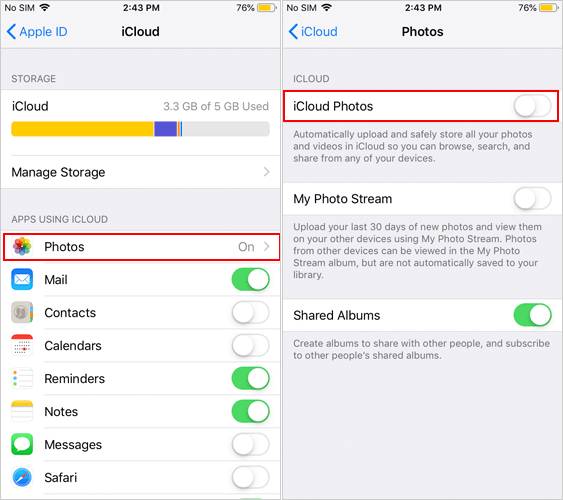
Tip 3: Upload Your Photo Library to iCloud
If you have a lot of photos in your Photo Library, you definitely want to back them to iCloud. On Settings, click on your profile and then click on iCloud. Choose photos and toggle on iCloud Photos. The time that this process takes to complete will depend on the number of photos that you are backing.
Tip 4: Remove SIM and SD Cards
Your SIM card may hold important personal data, so it's a good idea to remove it. If you plan to keep the same phone number, you can transfer it to your new phone. But if you're not going to use it again, it's best to destroy it. Also, if your phone has an SD card for extra storage, don't forget to take it out as well.
Tip 5: Erase Your Personal Data
Before selling or giving away your old phone, it's important to erase your personal information completely. This includes your contacts, text messages, photos, videos, and browsing history. Follow these simple steps to reset your device (make sure you have already backed up your old phone by following the content of Part 1):
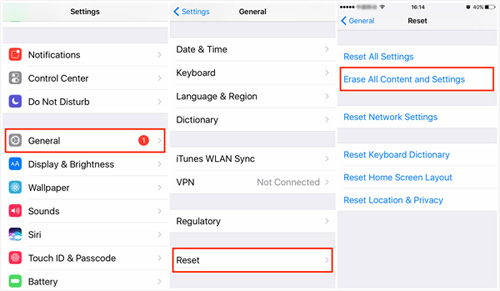
For iPhone:
- Go to Settings" > "General" > "Reset".
- Tap "Erase All Content and Settings".
- Enter your Apple ID password and confirm to erase everything from the device.
- Once it's done, your iPhone will be restored to its original factory settings.
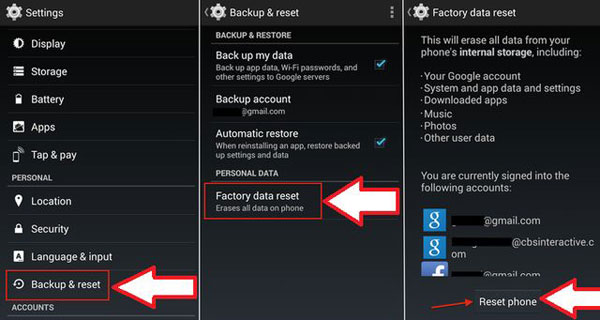
For Android:
- Go to "Settings" > "System" > "Reset".
- Tap "Factory Data Reset".
- Confirm the action by tapping "Reset Phone".
- Your phone will restart and erase all your personal information, returning it to factory settings.
Tip 6: Disconnect Your Phone From Accounts and Devices
Before handing over your phone, take a moment to ensure it's no longer linked to any of your accounts or devices.
- If your phone is connected to devices like a smartwatch or your car, make sure to disconnect them.
- Check that no passwords for accounts or Wi-Fi are saved on the phone.
- If you use two-factor or multi-factor authentication, remove your phone from the list of trusted devices.
- If you're changing your phone number, update it on any accounts or services that may still be using it to recognize you.
Get the Best Use out of Your New iPhone
All of the above things to do before getting a new iPhone can get you on the right track to benefit from your new iPhone in every way. These back up methods have been implemented by numerous iPhone and Android phone users around the globe. They have proven to be effective, safe, and easy to use. So, deciding between them can be challenging. However, MobiKin Assistant for iOS guarantees this and much more; thus, it is often the go-to choice. Do not take anyone's word for it. Go see for yourself.
Related Articles:
9 Quick Solutions to Troubleshoot Messages Didn't Transfer to New iPhone
Photos Didn't Transfer to New iPhone? Reasons & Solutions
